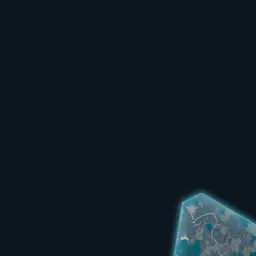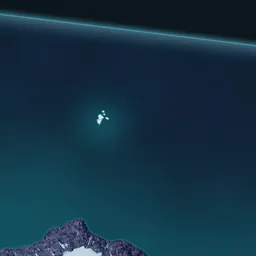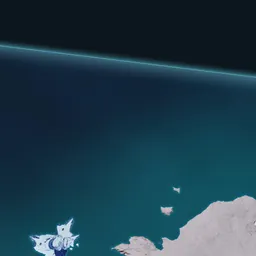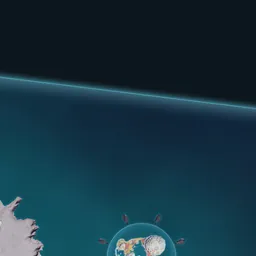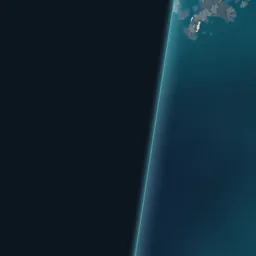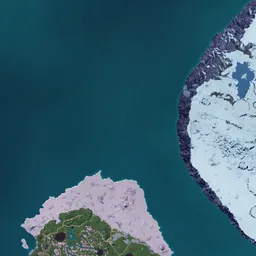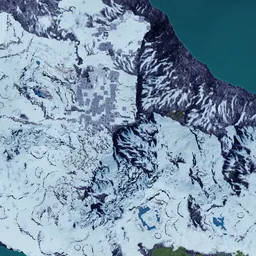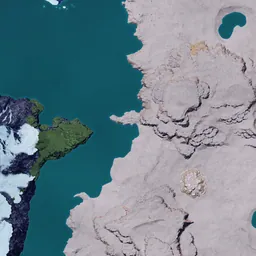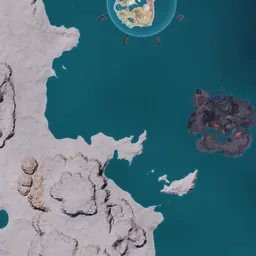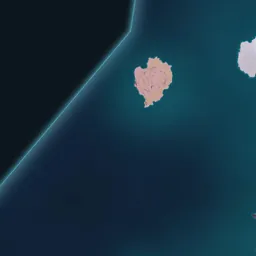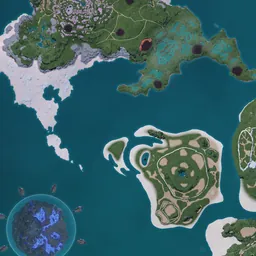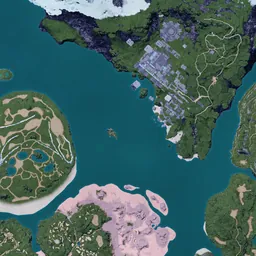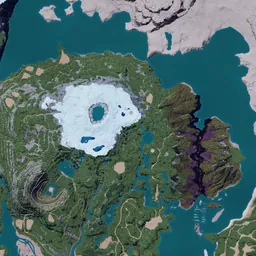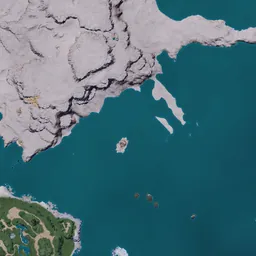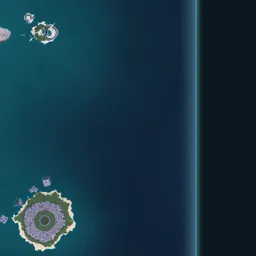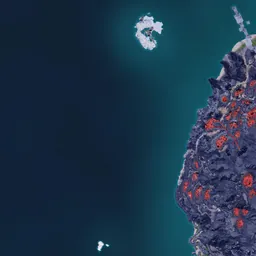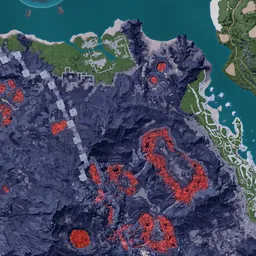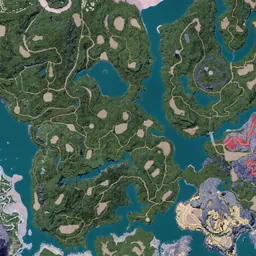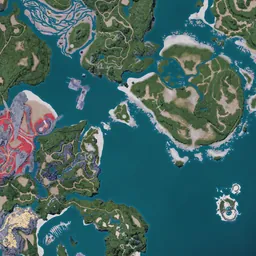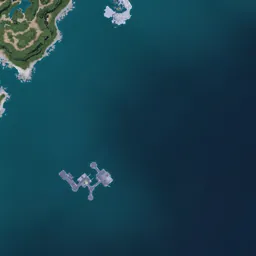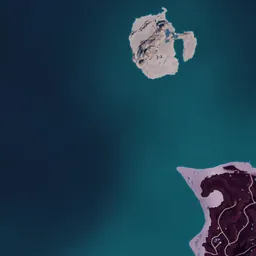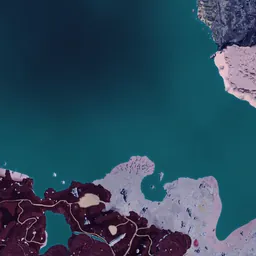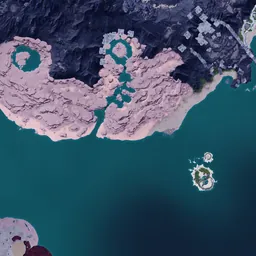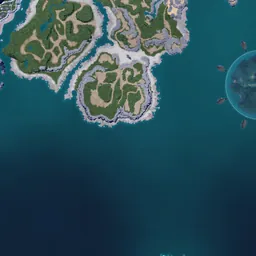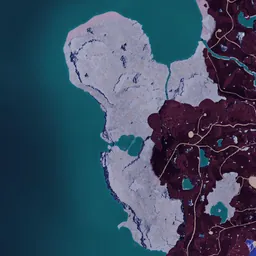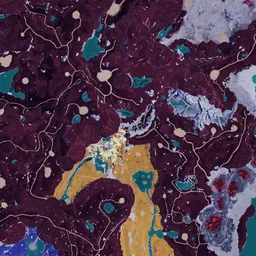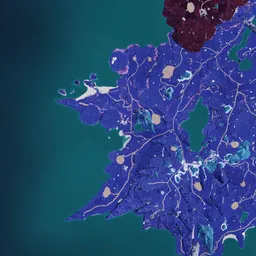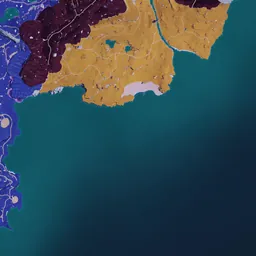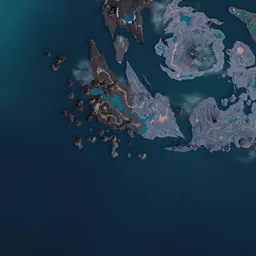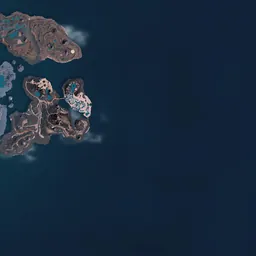
Palworld 1.0 didn't just buff the old map, it bolted on two brand new regions and seven fresh islands, and every one of them is fighting for a spot on your base list. Better still, the new aquatic construction kit means you no longer have to trade a beautiful view for resource nodes: you can finally build where you actually want to live.
Base-building specialist Vilestride combed the new zones for the most exciting, beautiful, and functional spots in the game. We have distilled his picks below with the exact coordinates, so you can plot any of them on our [interactive Palworld map](/tools/map) and go claim your favorite. For the full rundown of what else changed in 1.0, see our [complete 1.0 feature guide](/blog/palworld-1-0-new-features-explained).The Crystal Pool Paradise#
#1 · -540, -1361 · Sunreach
Arguably one of the prettiest spots in the game. A shallow, crystallized pool lets you drop foundations straight into the water, no aquatic kit required, and the surrounding area is dead flat and wide open. It is begging for a glass-floor build so you can see the pool glowing underneath.

More on the region itself in the Sunreach guide.
The Soralite Ore Peak#
#2 · 583, 144 · Sunreach
If you want to raise a proper town, this is the one. Huge flat, open ground with naturally occurring clusters of Soralite ore, and the terrain rises into a striking peak toward the north end for a tiered, layered look. You will unlock the Soralite quarry fast, so you do not strictly need to camp the nodes, but the aesthetic here is the real draw.

The Lava Flow Shelf#
#3 · 788, 457 · Flame Pulse Island
Flame Pulse is one of the brand new islands, and the flat zone in its middle is prime real estate: tons of workability, and far enough from the island's hidden world boss that it will never wander into your base. For maximum style, nudge your build toward the edge and fold the natural lava flows straight into your design.

The Secret Underground Fallout Bunker#
#4 · -1281, -633 · Sandstone Gate Islandlet
At a glance this is a boring, flat patch of desert. Look closer and you will spot a tiny hole in the ground that drops into a massive underground cavern. If you have ever wanted a genuinely hidden mining base or a subterranean fallout bunker, with nothing but a single ladder poking out at the surface, this is the holy grail.

The Lush Underground Grotto#
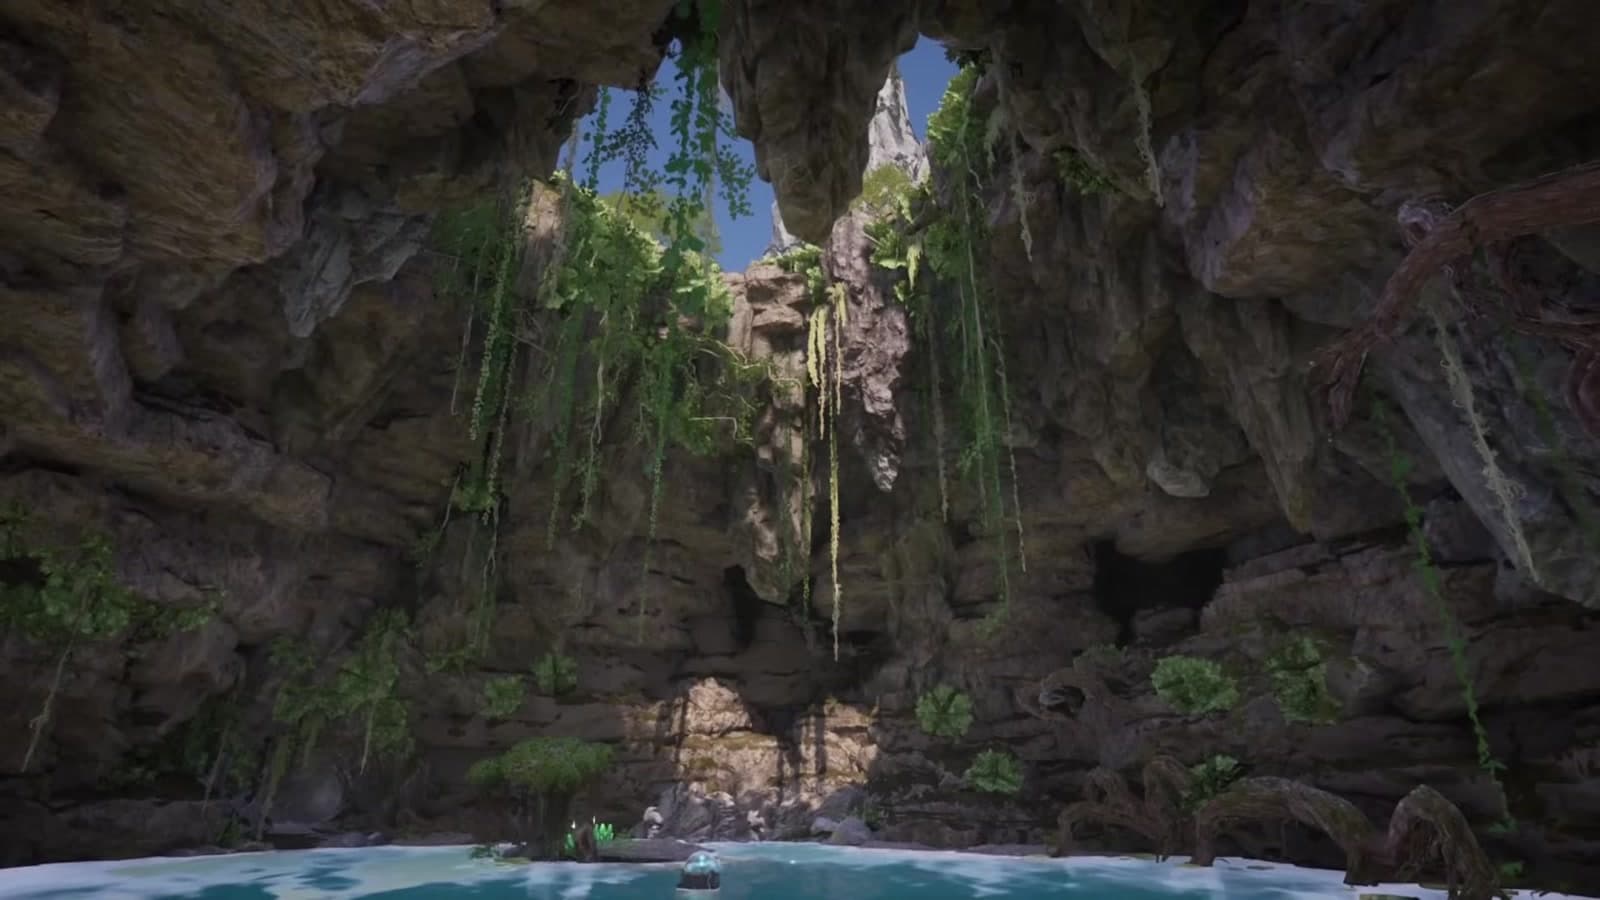
#5 · -259, -1398
Love the bunker idea but want something prettier? This second sinkhole is gorgeous: a body of water at the bottom, lush greenery, real verticality, and multiple mineshaft tunnels punching out the sides. It is about as close to a perfect secret tunnel base as the game gets.

The Half-Made Village#
#6 · -266, -1492
This one is pure Gladiator energy. A flat, open wheat field dotted with pre-built structures to shape your base around, framed by unique natural walls, pools, a gorgeous stone bridge, and surrounding waterfalls. The perfect canvas for a rustic town, tall grass and all.

The Waterfall Challenge#
#7 · -220, -1498
Easily one of the most stunning locations on the map, and absolutely not a beginner build. The space is awkward, with extreme verticality and multiple water levels to fight. Pull it off and it looks legendary.

The Hanging Wall Ravine#
#8 · 409, -693 · Scouring Island
Scouring Island has some of the wildest topography in the game: giant stacked rock pillars with flat platforms on top, deep ravines, and ancient statues. Claim your own little island-within-an-island at the coordinates above, or get ambitious and string a hanging wall base right across the ravine. Watch for the island's world boss while you scout.

The Foot of the World Tree#
#9 · 84, 1639
You still cannot build inside the World Tree zone itself (most likely to keep multiplayer guild access from getting messy), but its foot is the next best thing: a massive, flat, open body of water ringed by lush jungle. You will need the Aquatic Construction Kit to build out over the water here.

The Open Ocean (Literally Anywhere)#
#10 · 661, -60 · near the Arena
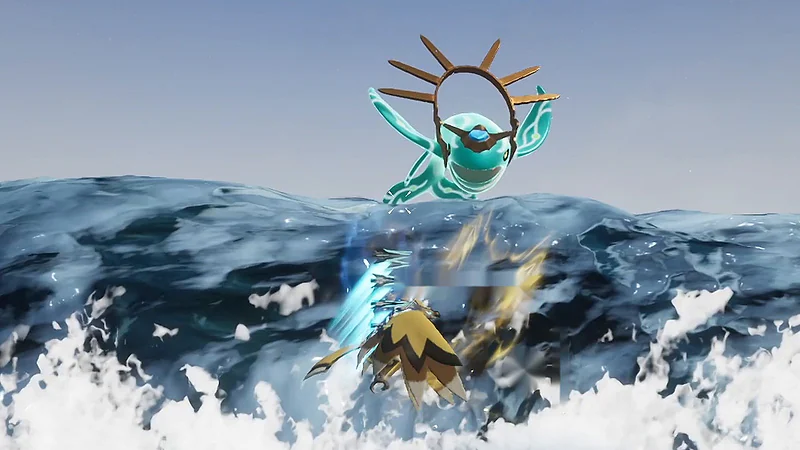
The ultimate 1.0 flex. Thanks to the new aquatic building set you can plant foundations on any body of water on the map. The coordinates above put you next to ancient stone ocean pillars that are perfect to wrap a water castle around, but honestly, pick any stretch of blue you love and start building.

Coordinates and Next Steps#
Every location in one place, ready to copy straight onto the interactive map:
| # | Location | Coordinates | Region / Note |
|---|---|---|---|
| --- | --- | --- | --- |
| 1 | Crystal Pool Paradise | -540, -1361 | Sunreach (Jetragon boss nearby) |
| 2 | Soralite Ore Peak | 583, 144 | Sunreach |
| 3 | Lava Flow Shelf | 788, 457 | Flame Pulse Island |
| 4 | Underground Bunker | -1281, -633 | Sandstone Gate Islandlet |
| 5 | Lush Underground Grotto | -259, -1398 | Sinkhole |
| 6 | Half-Made Village | -266, -1492 | Wheat field |
| 7 | Waterfall Challenge | -220, -1498 | Advanced build |
| 8 | Hanging Wall Ravine | 409, -693 | Scouring Island |
| 9 | Foot of the World Tree | 84, 1639 | Needs aquatic kit |
| 10 | Open Ocean | 661, -60 | Near the Arena |
Before you haul your Palbox across the map, line up the rest of your endgame:
- Plan the route: drop every coordinate on the interactive map
- Know the zones: the Sunreach and World Tree guides
- Kit out the build: the Base and Raid Rework and Work Suitability Overhaul
- Stock the workforce: filter multi-suitability pals in Palpedia
Which of these are you claiming for your main base, and did Vilestride miss a secret spot? Drop your own coordinates in the comments so everyone can go take a look.
Aerial Missile