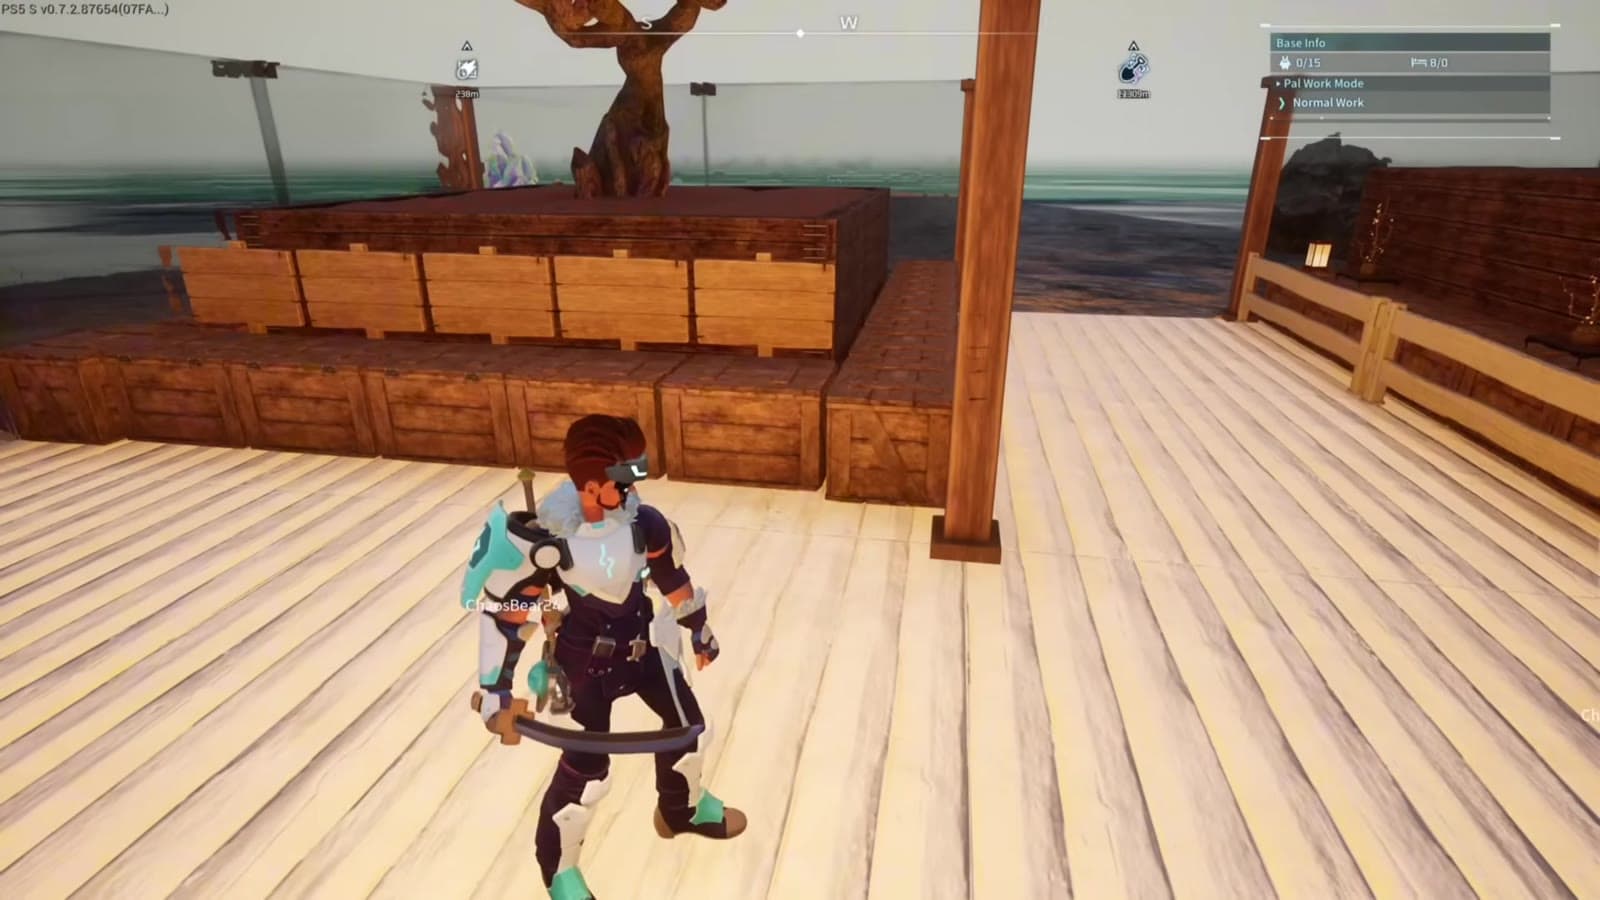
Why your base needs to go vertical#
Your base only covers so much ground, and every plantation you drop eats a full foundation tile of it. The fix is not a bigger base, it is a taller one: almost every station in Palworld can be stacked straight up once you understand one simple rule, and your pals will happily work every level of the tower.
The old way to do this was the bench method, a finicky trick that has been around forever and still trips people up. The method below is faster, cleaner, and simple enough to pull off with 10 hours in the game. Full credit to Chaos Bear Gaming, whose video walks through every build in this guide; it is embedded below and worth a watch to see the placements in motion.
What can stack, at a glance#
| Station | How it stacks | What you need |
|---|---|---|
| Stone and ore pits | Rest the next pit on a wooden box column three boxes tall, then break the boxes | Wooden boxes |
| Berry plantations | Snap the first one to the middle of a wall, then repeat plantation, cushion, plantation | A wall and floor cushions |
| Wheat plantations | A thin Japanese pillar between two walls gives the first snap point, then the cushion trick carries it up | Japanese pillar, walls, floor cushions |
| Large and fluffy pal beds | Floor cushion in the center of each bed, then snap the next layer of beds to the cushions | Floor cushions |
| Straw-style pal beds | Bench and storage box scaffolding holds the next row, then gets torn back out | Benches and small storage boxes |
| Metal, small, and refined metal chests | Floor cushion on each chest lid, snap the next chest on top, break the cushions after | Floor cushions |
| Benches | Snap them up a wall into a climbable ladder; the wall behind can be broken afterward | Benches |
| Assembly lines and crafting stations | Build on an ironwood low table and wooden box platform, then tear the platform down | Ironwood low tables and wooden boxes |
The one rule behind every stack#
Every trick in this list comes down to the same mechanic: an item only needs support at its dead center to be placed. Picture where your crosshair sits when you aim a weapon; that point on the station's footprint is what the game checks. If the center is resting on something, the whole station can hang off into open air.
Two more mechanics round out the toolkit:
- Access alignment mode is your snap feature. When the build menu shows the material cost, look at the option list underneath: build, build continuously, rotate, and access alignment mode. Hold the alignment option and the piece snaps to nearby walls and objects. Walls create snap points, and placed objects create new snap points of their own.
- Once a station finishes building, it is considered fully supported. That means the scaffolding you used to place it can be torn down and the station stays floating in midair. This is the load-bearing trick (literally) for everything below.
Once a station is fully built, the game considers it supported. Break the scaffolding and it just stays there, floating.
Before you start, stock up on the two workhorses of this guide: the wooden box and the Japanese floor cushion. The cushion matters because it is the thinnest item in the game that can be placed on top of other items (rugs are technically thinner, but they only go on floors). Favorite both from the build menu, using the option under the workload display, so you can grab them instantly.
- Craft a stack of wooden boxes for temporary scaffolding
- Craft several Japanese floor cushions (the thin spacer)
- Craft a few Japanese pillars (thinnest pillar, used for chest and wheat stacks)
- Favorite the wooden box and floor cushion in the build menu
- Pick a base with flat foundations to build on
1. Float your ore and stone pits#
The simplest stack in the game. Ore-type stations like the stone pit check for center support, so all you need is a temporary tower for the second one to rest on.

- Build your first stone pit on the ground as normal.
- Next to it, stack wooden boxes into a column three boxes tall (snap them to each other with alignment mode).
- Snap a second stone pit to the top of the column. The game accepts it because the center of the station is supported.
- Once it finishes building, break every box. The pit stays floating.
Three boxes tall is not arbitrary: any lower and there is not enough vertical clearance between the two stations for the game to allow the placement. Your pals will work both levels without complaint, top or bottom, and if you break one they simply move to the other.
2. Stack berry plantations with the floor cushion trick#
Berry plantations are the classic stacking target because they are about the size of a single foundation tile, and this is where the floor cushion earns its slot in your favorites.

- Place a wall. You need it there to create the snap point; this is not optional.
- Snap a berry plantation to the middle of the wall and build it.
- Drop a Japanese floor cushion in the center of the plantation.
- Snap the next plantation to the cushion, build it, and repeat.
That is the whole loop: berries, cushion, berries, cushion. It has to be the middle of the wall; snap to the edge and the game refuses the next layer. If you have ever fought the bench method, the speed difference here is night and day.
3. Build a glass plantation tower#
The showpiece build: plantations stacked three high inside a glass column, crystal clear, with a lantern hanging inside. It combines the wall snap and the cushion trick, and it is the one build where order of operations will make or break you.

- Build a back wall four walls tall, then cap it with one more wall on top. Place the top wall first. If you stack the plantations before the cap wall exists, the game will refuse to place it later and the whole build stalls.
- Enclose the sides with glass walls, leaving one side open so you can still reach in. Paint the glass black and the foggy tint disappears, leaving it crystal clear.
- Snap the first plantation to the top wall, then work down with the cushion trick: plantation, cushion, plantation. Stand on a corner pillar while placing, or the game counts your body as an obstruction.
- At three plantations tall, close the roof with a glass ceiling (also painted). Four tall works too, but then the top becomes your walkway and you cannot place a ceiling.
- For the lantern: use the replace feature to swap one glass wall for a window, place the lantern through it just behind the glass, then replace the window back. Done.
4. Use stacked benches as ladders#
Here is one most players never discover: stacked benches are climbable. Snap benches up a wall and you have a ladder, except better, because actual ladders in Palworld cannot be placed on walls at all. They only go in open floor space, hanging down awkwardly into the middle of your room.

Benches have none of those restrictions. Stack them to any height, climb up and down freely, and once they are placed you can even break the wall behind them; they keep floating and stay climbable. Add a railing behind a bench column and it reads as an intentional design piece rather than a workaround. Every multi-level build in this guide pairs naturally with a bench ladder in the corner.
5. Stack pal beds into bunk towers#
Pal beds refuse to stack directly on top of each other, but they fold instantly to the cushion trick.

For large and fluffy pal beds (the ones with flat surfaces): snap a row of beds together, place a floor cushion in the center of each one, then snap the next layer of beds to the cushions. The snap points line up cleanly and you can keep going up.
For straw-style beds with no flat surface, you need scaffolding instead: snap benches to the sides of the bottom row, snap small storage boxes to the wall corners above, place the next row of beds against those snap points, then tear the benches and boxes back out. More fiddly, but the result is a floating bunk wall that frees up an absurd amount of floor.
6. Stack the chests that refuse to stack#
Metal chests, small chests, and refined metal chests all normally reject stacking. Same trick, same cushion.

- Build your row of chests on the ground, snapped to each other.
- Place a floor cushion in the center of each chest lid.
- Snap the next chest directly on top. Once one chest of the new layer is placed, the rest snap to it and you can rotate them into alignment.
- Break the cushions out afterward if you want; the chests keep floating.
One honest caveat: small chests and refined metal chests sit with a visible gap between layers, since the cushion holds them slightly apart. Metal chests hide it best. The storage density is worth it either way, and it looks far cleaner than a floor carpeted in chests.
7. Put full assembly lines in the air#
The big one: entire crafting stations, including the weapon assembly line, floating on nothing. This uses the ironwood low table, which stacks into a perfect temporary platform.

- Against a wall, place a row of ironwood low tables: three for small stations, five for the big level two assembly lines.
- Build wooden boxes on top of the tables, then a second layer of tables rotated the opposite way so they sit wider than the bottom row.
- Snap the station to the top of the wall and place it on the platform. If the rotation will not fit, a nearby wall is usually blocking it; break the wall and try again.
- Once the station finishes building, tear down every table and box. Be careful clicking; the station is a big target and easy to hit by accident.
- Place a second station directly underneath the floating one. The level two lines need real vertical clearance, so give them room; smaller stations like the gold coin assembly line fit much tighter.
For stacked wheat plantations, the same author uses a variant: a thin Japanese pillar between two walls gives the first plantation its snap point, then the cushion trick carries the tower up from there.
Pick a base worth stacking in#
Vertical builds get even better when the ground floor is worth defending. If you are still deciding where to plant your flag, our best new base locations in Palworld 1.0 guide covers the strongest spots, and the broader base building tips for 1.0 post pairs perfectly with everything above. And once your storage towers are overflowing with mats, put them to work with something from the mod catalog or plan your next breeding project with the tools suite.
Credit where it is due: every technique here was demonstrated by Chaos Bear Gaming in the video embedded above. Subscribe to them if you want more base engineering like this.



Comments
Loading discussion...