
Midgame recommendation

Electricity 5
Electricity 5, Handiwork 4, and Transporting 5 turn one slot into a full utility shift.

The best base Pals keep your whole production chain moving. Compare exact natural work levels, stage-by-stage picks, Ranch products, logistics rules, and a six-Pal core that covers every essential line.
A natural level-8 specialist wins a single job. A great base slot wins the whole production chain. Start with the queue that is visibly stalled, choose a Pal that can reach it reliably, then judge whether its secondary jobs help or pull it away.
Use this practical order to diagnose why a multi-role Pal leaves one station for another. It reflects repeated live play, not a claim about Palworld's hidden internal AI code.
Use the order as a diagnostic, not a guarantee. Fixed assignments, missing materials, pathing, threats, and station state can all change what you see at a real base.
Nearby threats interrupt normal work first, so active defenders break away before production continues.
Emergency recovery and firefighting take precedence over routine base jobs.
Pals with Handiwork may answer an active building project before returning to production benches.
Assigned Ranch producers settle into their species-specific material loop early in the observed order.
Power workers refill generators before most routine processing and resource jobs.
Kindling for furnaces and temperature equipment is observed ahead of cooking queues.
Cooking is a separate Kindling lane and tends to follow smelting or heater demand.
Ripe crops are gathered and their food output is carried away before the next planting cycle.
Workers restart plantation cycles after the previous harvest has been cleared.
Medicine benches and Watering work at Mills or Crushers sit in this observed production band.
Assembly lines, benches, repairs, and other ordinary Handiwork follow higher-priority service loops.
Free-standing ore nodes and trees are worked before placed extraction-site queues in the observed ladder.
Placed resource facilities provide steady reserves after nearby natural resources are handled.
Loose items on the ground create a distinct hauling need before broader storage-to-storage movement.
Routine hauling between production points and storage follows urgent floor-drop cleanup.
Naturally spawned pickups around the base are a low-priority collection task.
Cooling appears last in this community-observed task-selection order, so fixed assignment is especially valuable for refrigeration.
Pick the production lane that is falling behind, then switch stages for one practical recommendation. The natural leader stays visible as a benchmark, not an automatic order.
Power is a capacity check. Add generation when active machines drain the grid faster than your workers can refill it.
Electricity 5, Handiwork 4, and Transporting 5 turn one slot into a full utility shift.
Natural Electricity level 8, the highest current base value in the 1.0 dataset.
Natural level only. Condensation, Handbooks, and work auras are separate.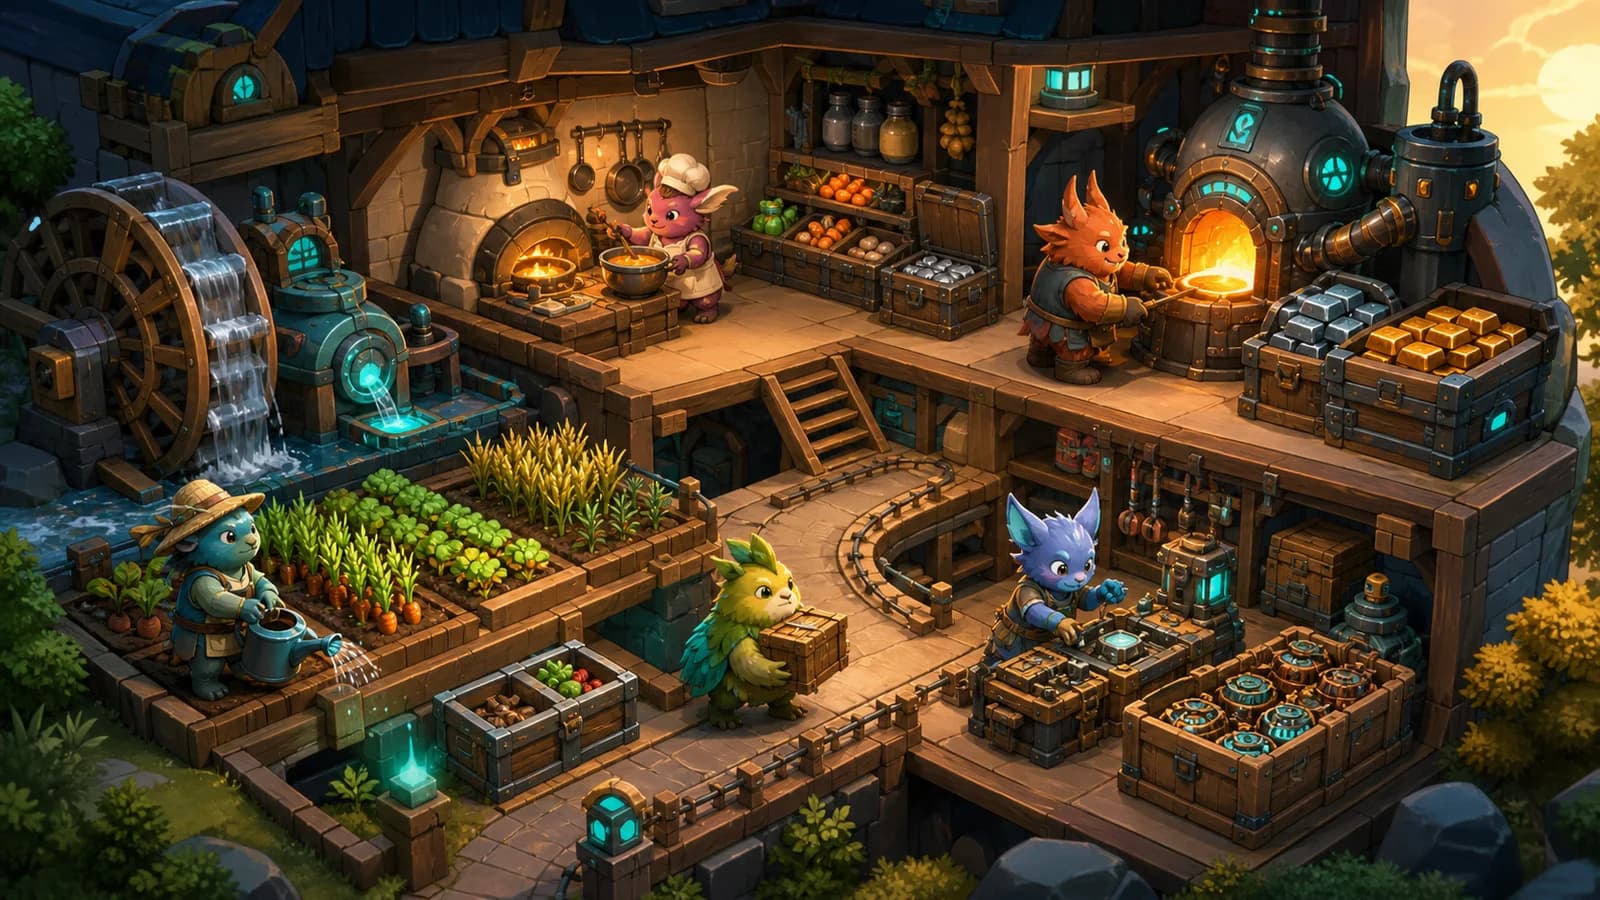
Crops, processing, cooking, crafting, and storage should form a tight loop. Short routes turn Transporting into useful cleanup instead of a permanent staffing tax.
Use the selector above for a fast answer, then use this complete field guide for the reasoning, alternatives, assignment rules, and progression details behind every pick.
These jobs create urgent queues, but those queues are not always active. Compare the full progression path, then choose a Pal with useful work after the immediate job ends.
Power becomes a serious staffing problem when oil equipment and advanced machinery can drain a full generator during normal production.
Low food cost and simple early coverage make Sparkit the clean first generator worker.
Electricity 5, Handiwork 4, and Transporting 5 turn one slot into a full utility shift.
Natural Electricity 8 is the current ceiling and the anchor for high-demand production bases.
Grizzbolt is the level-30 Forest Wildlife Sanctuary guardian and combines Electricity 5 with Handiwork 4 and Transporting 5.
Add capacity only when active machinery stalls. The Large Power Generator unlocks at level 50 and the Ancient version at level 75.
Orserk reaches natural Electricity 8 and anchors bases that run several high-demand facilities at once.
A generator sitting full does not need another Pal. The real signal is machinery stalling under a normal production load.
Planting starts the farm cycle, Watering advances it, and Gathering determines how much you collect at harvest. Handiwork and Medicine then turn those materials into useful production. Treating these as one connected wing makes it easier to find the real bottleneck.
 Flopie is a friendly early upgrade with Planting 2, Gathering 2, Handiwork 2, and Transporting 1. A low-health
  Mammorest can jump the curve with Planting 4, Mining 4, and Lumbering 4, though its size and lack of Gathering make it a blunt tool.
  Dinossom is the more realistic Planting 3 and Lumbering 3 bridge.
Before level 50,  Elizabee is a superb farm generalist. Planting 4, Gathering 4, Handiwork 4, Medicine 4, and Lumbering 3 give it a natural route from crops to building and then wood.
  Shroomer Noct can justify a slot through its base-wide SAN reduction, while
  Braloha can support faster Breeding Farm egg production.
Before levels 25 to 30, construction and short crafting batches rarely justify a full-time Handiwork specialist.  Petallia is a strong first upgrade because Handiwork 3 sits beside Planting 4, Gathering 3, Medicine 4, and Transporting 2.
Grizzbolt becomes valuable again here. It charges the generator, answers construction calls, handles Handiwork 4 queues, and then transports. Flaracle later pushes that model to Handiwork 6 and Kindling 7.
One elite crafter becomes especially valuable once advanced workbenches replace several older assembly lines. Fewer simultaneous work slots mean that a fast, reliable Pal matters more than a crowd of average workers.
Medicine Production is usually a support job rather than a permanent department. Elizabee, Petallia, Lyleen, Dandilord, and Silvance all combine it with productive farm or workshop work. That makes them safer early investments than a Pal that only waits beside a medicine bench.
Move toward Silvance when medicine becomes a sustained endgame requirement. Until then, keep ingredients close to the bench and let a multi-role farm worker handle each batch after higher-priority crop work clears.
These jobs sit late in the practical task order, which makes them excellent fallback work. They are also where poor layouts become most obvious. Before adding a body, shorten the route and make sure higher-priority jobs are not stealing the Pal you already assigned.
Early on,  Rushoar is useful in the party because its mounted charge breaks ore nodes faster than a primitive pickaxe.
  Incineram is a flexible base miner with Mining 3, Kindling 3, Handiwork 2, and Transporting 2.
  Penking adds Mining 3 to Watering, Handiwork, Cooling, and Transporting, so it clears urgent work before moving to ore.
The natural dataset stops at level 8. Any level 9 or 10 display also includes later Work Suitability investment rather than the Pal's starting record.
 Eikthyrdeer is a clean early specialist with Lumbering 2 and no competing base job. In the midgame, Mammorest or Elizabee can log after higher-priority work ends. Paladius and Necromus both pair Lumbering 6 with Mining 6. At the endgame,
  Celesdir Noct is the natural Lumbering 8 leader and works overnight.
Advanced tools make wood easy to collect manually, and outpost expeditions offer another bulk source. Do not build a permanent logging department unless a real recipe backlog demands one.
Cooling offers poor value when its only job is ordinary food storage. Workers repeatedly eat from the feed box, which refreshes the active stack's timer, while the Guild Chest protects surplus ingredients from ordinary spoilage pressure. A dedicated Cooling Pal can spend most of the day solving a problem your storage plan already removed.
The Ancient Furnace changes the calculation at level 66 because it requires Kindling 6 and Cooling 6.  Whalaska combines Cooling 6 with Watering 5,
  Frostallion is a dedicated Cooling 7 specialist, and
  Bastigor leads the natural table at Cooling 8 with Lumbering 6 and Mining 5 as fallback work.
Dedicated Transporting should be the last workforce slot you add. First, place stations beside storage and let Electricity, Kindling, Handiwork, or Mining Pals haul when their primary queues end.
 Mimog is a charming early transporter, but disable its weak Gathering when you want it moving items.
  Eidrolon reaches natural Transporting 6. Knocklem and Knocklem Ignis lead practical endgame logistics at Transporting 7, and their large models can clear nearby output quickly when the base stays compact.
Use the floor as your diagnostic. If finished goods still cover it while nothing is crafting, cooking, smelting, charging, or watering, a dedicated transporter has earned the slot. If the floor is clear, keep that slot for production.
Palworld 1.0 rewards players who read a base as a set of queues instead of a collection screen. Start with the station that is waiting, trace every higher-priority job that can distract its worker, and fix the route before adding bodies. Once that habit clicks, a compact six-Pal core can feel faster than the crowded base you thought you needed.
Verified on ✓ v1.0. Natural Work Suitability values, Ranch outputs, and Pal details come from the current PalMods game dataset.

Can be ridden. Can rapidly fire a minigun while mounted.
 Electric Organ×2–4
 Leather×2–3
While in party, hitting an enemy with a bullet increases the Attack and Defense of the Pal fighting alongside you by 1% for 5 seconds. This effect stacks up to 30 times. (Does not stack.)
Electric Organ×1–2 World Tree Holy Water×2–4
Can be ridden. While in party, the player gains Cold Resistance +2. (Does not stack)
 Horn×1
 Flame Organ×2–3
Can be ridden to travel on water. This Pal’s Movement Speed increases by 5% for each other Fire or Water Pal in your party. (Excluding Ghangler Ignis)
 Bone×2–3Flame Organ×1–2
Can be ridden to travel on water. While in party, increases player's and Pals' damage to enemies afflicted with Soak by 50%. (Does not stack)
 Aquatic Pal Fluids×2–4
 Dragon Radiant Gem×10–20
Can be ridden. While in party, the player's attacks increase Soak buildup by 2. (Does not stack)
 High Quality Pal Oil×4–5
 Large Pal Soul×1–2
Can be ridden as a flying mount. This Pal's Attack increases by 4% for each other Dragon Pal in your party.
Horn×1Leather×1While in party, appears near the player. Automatically picks up nearby items.
 Low Grade Medical Supplies×1
 Lettuce Seeds×1–2
Can be ridden. While mounted, increases logging efficiency by 220% and mining efficiency by 500%.
High Quality Pal Oil×5–10Leather×5–10Can be ridden. While in party, increase Defense of Dragon Pals by 15%. (Does not stack)
 Tomato Seeds×1–2Lettuce Seeds×1–2
This Pal's Attack increases by 12% for each Beegarde in party.
 Honey×5
 Elizabee's Staff×1
Can be ridden. While at a base, its mysterious spores slow the rate at which the SAN value of allies at the base decreases by 10%.
 Venom Gland×4–8
 Mysterious Mushroom×1–2
Can be ridden. While in your base, increases the egg production speed of Pals assigned to Breeding Farm by 20%. (Does not stack)
Leather×1 Red Berries×1–2
When activated, soothing blossoms restore the player's Health by 75%. While at a base, increases the Planting Work Suitability Level for all other Base Pals by +1. (Does not stack)
 Beautiful Flower×2–3
 Potato Seeds×1
Can be ridden. While mounted, increases efficiency of destroying Stone by 500%.
 Rushoar Pork×1–2Leather×1
When activated, attacks the targeted enemy with Hellfire Claw. When this Pal uses Hellfire Claw, it has a x1.1 damage multiplier.
Horn×1Leather×1While in party, Fire Pals drop 40% more items when defeated. (Does not stack)
 Ice Organ×1–3
 Penking Plume×1
Can be ridden. Can perform a double jump while mounted and increases lumbering efficiency by 220%.
 Eikthyrdeer Venison×2Leather×2–3
Can be ridden. While in party, the Pal fighting alongside you gradually loses Health in exchange for 40% Attack increase. (Does not stack)
Leather×2–3Horn×2Can be ridden. While in party, fishing minigames start with the capture gauge increased by 5%. Additionally, while the bars overlap, capture progress increases by 5%. (Does not stack)
Aquatic Pal Fluids×1–2 Coralum Ore×2–3
Can be ridden as a flying mount. While mounted, changes the player's attack type to Ice, increases Attack by 10%, and apply Freeze buildup by 2.
Ice Organ×10 Diamond×1
Can be ridden. While mounted, delivers crushing blows with a hammer forged from Ice.
Leather×2–3Ice Organ×2–5While fighting together, Mimog can open treasure chests without using a key. Does not apply to chests that require a specific Work Suitability.
 Gold Coin×1000–2000
 Dog Coin×14–21
Can be ridden as a flying mount. This Pal's Attack and Movement Speed increase by 2% for each other Dragon or Dark Pal in your party.
Leather×4–5High Quality Pal Oil×5–6This is a compact operating team, not a replacement for a full 15-Pal roster. It covers every essential production family with enough overlap to absorb short queues. Add Ranch producers for the exact materials you need, then expand the lane that stays busy.
Runs both thermal lines and helps move finished output.
Kindling 5 / Watering 5 / Transporting 2Powers machinery, clears bench work, and hauls during charging downtime.
Electricity 5 / Handiwork 4 / Transporting 5Owns the crop cycle and handles clinic or workshop spikes.
Planting 7 / Gathering 6 / Medicine 5Moves from raw extraction to crafting without wasting a slot.
Mining 6 / Handiwork 6 / Transporting 4Clears large output bursts while covering wood and refrigeration.
Transporting 6 / Lumbering 5 / Cooling 5Supplies Honey and flexes into several light support jobs.
Ranching 3 / Gathering 3 / Handiwork 2Ranching is the one job where a single tier list gives the wrong answer. Species decide the product. Suitability changes the quantity range for that product. The values below are result ranges per listed production roll, not items per minute.
Pal selection matters, but a clean production system multiplies every suitability level you already own. These checks prevent the most common false staffing problems.
Suitability ranks the job itself. Food, SAN, travel distance, animation time, and task drift decide how much of that potential reaches storage.
Put inputs, the work site, and output storage close together. A slightly weaker Pal on a clean route can beat a top worker crossing the whole base.
Nocturnal Pals matter most on dedicated servers and always-on outposts. In a closed solo world, food efficiency may deserve more weight.
A finished stack on the floor is not finished throughput. Give Ranches, mines, and factories nearby storage plus enough hauling capacity.
Work auras improve other matching workers, do not boost the carrier, and do not stack. The support Pal must raise enough teammates to justify its slot.
High-end workers have high food demand. Better meals, beds, Hot Springs, and reachable facilities can fix a base that looks understaffed.
Compare every worker, price the aura slot, inspect each Pal, and move from a six-Pal core to a complete stage-specific roster.
There is no universal winner because each base has a different bottleneck. Ghangler Ignis and Grizzbolt are exceptional multi-role picks, while natural level-8 specialists such as Orserk, Renjishi, Shaolong, Dandilord, Solenne, Aegidron, Celesdir Noct, and Bastigor lead individual jobs.
No. Natural suitability is the starting point, but pathing, food cost, nocturnal coverage, task drift, work auras, and the jobs your base actually needs can make a lower-level worker more useful.
Ghangler Ignis combines Kindling 5, Watering 5, and Transporting 2. That lets one slot operate both sides of several production chains and help move output when the active queues are clear.
Grizzbolt combines Electricity 5, Handiwork 4, Lumbering 3, and Transporting 5. It can charge the grid, support construction, and clear material stacks instead of idling beside a full generator.
No. A work aura raises the matching suitability of other Pals in the base, does not boost the carrier, and duplicate copies do not stack. Compare the gain across your crew with the value of using that base slot for another specialist.
Choose by product first. Chikipi makes Eggs, Mozzarina makes Milk, Beegarde makes Honey, and other species have their own pools. Ranching level changes quantity ranges but does not change what a species can produce.

Panthalus is the level 70 Water Legendary guarding the World Tree, and it is the only boss with a guaranteed catch. Here is the summon route, the full-Electric party, the three mechanics that decide the fight, and why the sphere at one HP never misses.
PalMods Team

Every solo Arena ticket payout, the verified Legend enemy stats that explain why the last bracket feels unfair, the force-target command that ends matches faster, and what to buy first from the shop.
PalMods Team
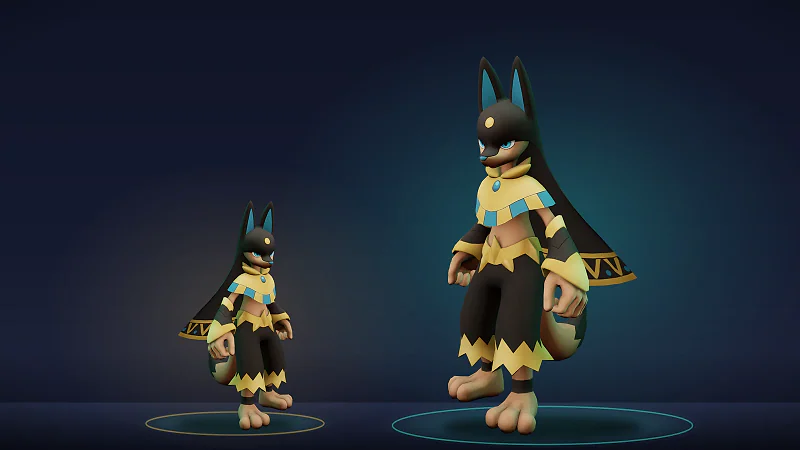
Alpha status changes exactly one combat stat, a 20% additive HP bonus. Whether that beats the bigger hitbox depends on the species, the attack, and how you pilot. Here is the full Alpha or normal decision, from arena fights to expeditions.
PalMods Team













 Chikipi
 Mozzarina
 Beegarde
 Caprity
 Vixy
Vixy
 Sibelyx Primo
 Sibelyx
 Dumud Gild
 Dumud
Dumud
 Sparkit
Comments
Loading discussion...