Collect four Echobones
Marine, Silent, Seafoam, and Tidewind Echobones all come from the glowing whale skeletons near the towers.
Glowing whale skeletons, all near towers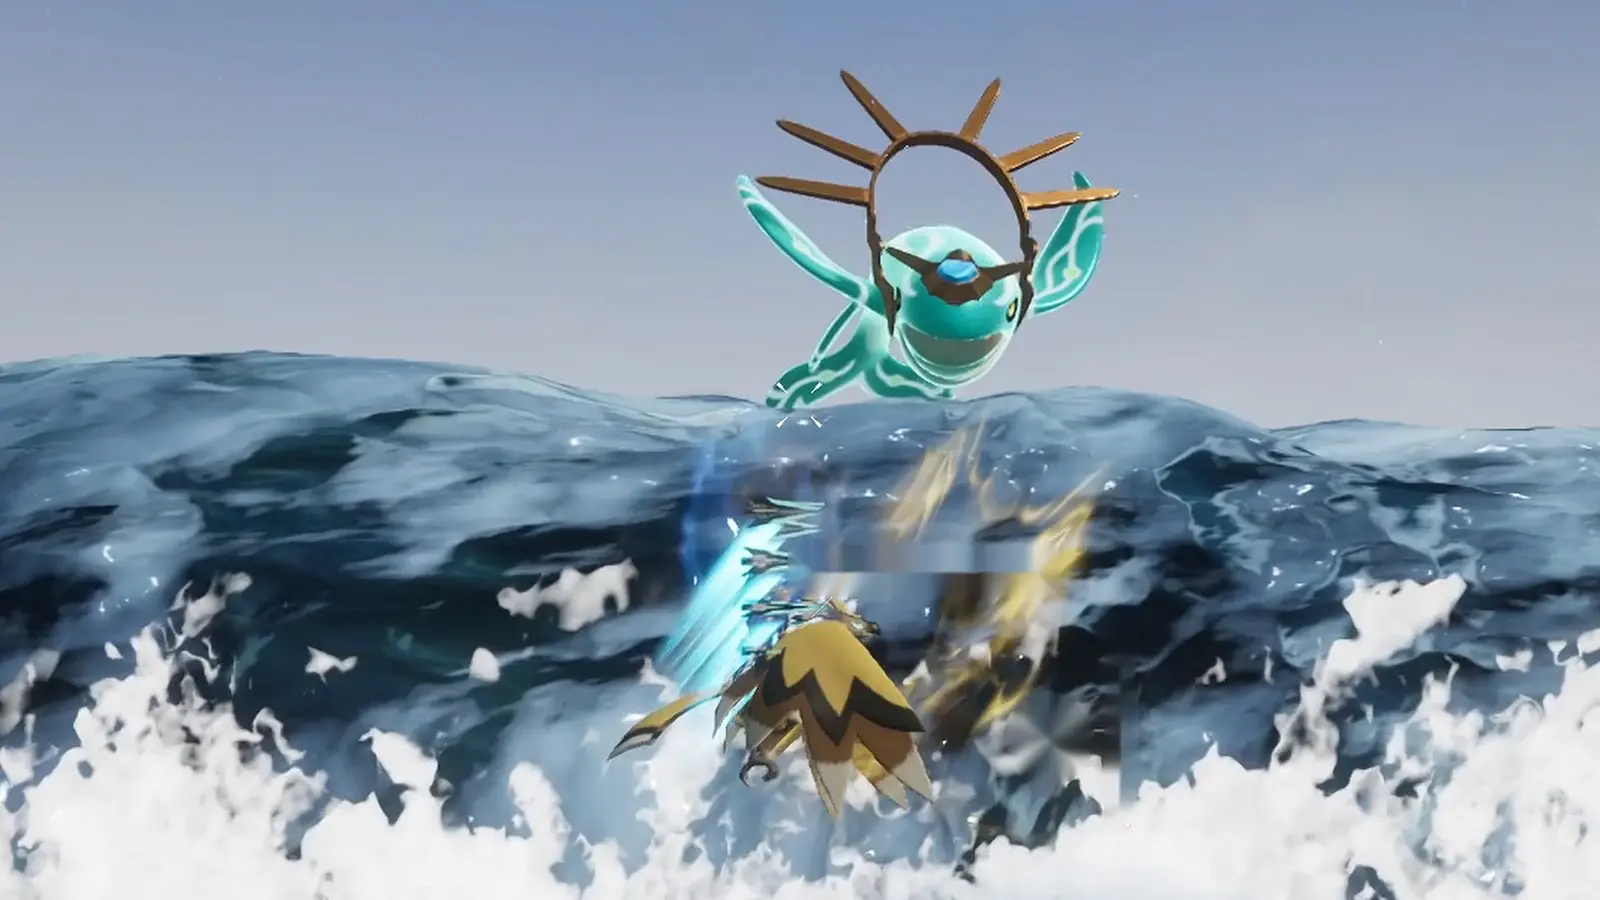
The Ocean King guards the World Tree, and it is the one boss the game will not let you kill by accident. Summon it, fly it down with a full-Electric party, and take it home at one HP.
 Catch rate100%at one HP, with any sphere
Panthalus is a level 70 Water Legendary and the only boss in the game with a guaranteed catch. That single rule changes how you fight it: you are not racing a health bar down to zero, you are steering it to one HP and then throwing.
Four Echobones become the Echoing Flute, and the flute calls the fight at the shrine.
Electric damage melts a Water king, so every party slot feeds the same element.
You live on a mount for the whole fight, which is what beats the island-wide attacks.
Body shots crit hard and the crown crystal takes bonus damage on top.
Panthalus locks at critical health, so any sphere finishes the run.
The written guide below carries every step. The Short is the same run in motion, from the flute at the shrine to the sphere landing on a boss that cannot die.
Panthalus does not roam. You call it up with an item you build yourself, which means the first half of this fight is a short collection route rather than combat.
Marine, Silent, Seafoam, and Tidewind Echobones all come from the glowing whale skeletons near the towers.
Glowing whale skeletons, all near towersThe four bones combine into one flute. Any workbench back at your base can build it.
Any workbench at your baseThe shrine sits on the Deserted Islet beside the researcher. Playing the flute there starts the fight.
Deserted Islet, next to the researcherElectric damage melts a Water king, so the party is not a mix of answers. Every slot either converts your damage to Electric, multiplies it, keeps your gear alive, or keeps you in the air.

Converts your damage to Electric, which is the whole reason this party works.

Stacks flat attack on top of the conversion for free.

A second copy of the same attack bonus from a different species.

Keeps weapons and armor from breaking during a long fight.

The main mount. Bring a second flyer as a backup, because you never land.
No Prixter Lux? Helzephyr Lux slots straight in.
Prixter Lux is the engine and the Gobfins are the amplifiers. The percentages are partner-skill ceilings at max rank, so treat them as the top of the curve rather than what a freshly caught Pal gives you today.
| Source | What it does | Ceiling |
|---|---|---|
| Prixter Lux | Converts your damage to ElectricThe conversion is the engine. The attack bonus stacks on top of it. | Up to 50% attack |
| Gobfin | Flat attack bonus while in the partyDifferent species, so it combines with Gobfin Ignis instead of overwriting it. | Up to 20% attack |
| Gobfin Ignis | Flat attack bonus while in the partyThe second amp slot, and the reason the party runs both Gobfins. | Up to 20% attack |
| Tetroise Primo | Weapons and armor do not break mid fightNo damage of its own, but it keeps the rest of the kit online. | Durability |
| Two flying mounts | Jetragon main plus any flyer backupThe fight is a chase, so a downed mount cannot cost you the run. | Uptime |
Panthalus has one attack that erases the arena, one habit that keeps it away from you, and two weak points that pay for every bullet. Handle those three and the fight is a long, safe grind.
There is no safe corner of the arena for these. Watch for the big wind-up, then fly out over open water and hold there until the wave passes.
Big wind-up equals exit cuePanthalus never sits still, so the fight is a chase. Stay mounted, run it down, and keep your partner skill firing the whole way.
Stay mounted, keep chasingTwo weak points, one simple rule. When the arc of the fight makes the crown hard to hit, put everything into the body instead of waiting for a perfect angle.
Aim center massAim center mass
This is the section that changes how the fight feels. Once the health bar bottoms out, the pressure is gone: there is no capture roll, no rarity check, and no way to accidentally kill the thing you came for.
Drop Panthalus to one HP and it stops there. It literally cannot die, so there is no overkill to fear.
Throw whatever you are carrying, even the most basic sphere. The rarity of the sphere changes nothing here.
This is the only boss with a guaranteed catch. The throw is not a roll, it is a formality.
The critical-health state holds for ten minutes. Heal up, reposition, line the throw up properly.
100% guaranteed
With Panthalus in your party the World Tree barrier parts, and the whole late game behind it becomes reachable. If you are still building toward the level 80 encounter, our Pal leveling route is the fastest way to close the gap.
The next story beat behind the barrier opens as soon as the tree lets you through.
The World Tree region is where the Awakening material economy actually starts.
The endgame encounter sits at the far end of the same unlock.
Yes. Panthalus is the only boss with a guaranteed catch. At one HP it locks at critical health and cannot die, and any sphere you throw captures it at one hundred percent.
Panthalus is a level 70 Water Legendary. A party in the high 50s and up can win the damage race with the full-Electric setup, but the mount uptime and the island-wide attacks punish an underleveled trainer more than raw stats do.
Helzephyr Lux slots straight in. It gives you the same Electric conversion while mounted, so the rest of the party plan does not change.
You cannot fail the catch. Once Panthalus is at critical health you get a ten minute window to throw, the throw always succeeds, and the fight ends with the Pal in your party.
With Panthalus in your party the World Tree barrier parts. That opens the Sealed Calamity quest, the Radiant Gems and Awakening material chain, and the route to the level 80 final fight. Keep it in your party, because it is the key.
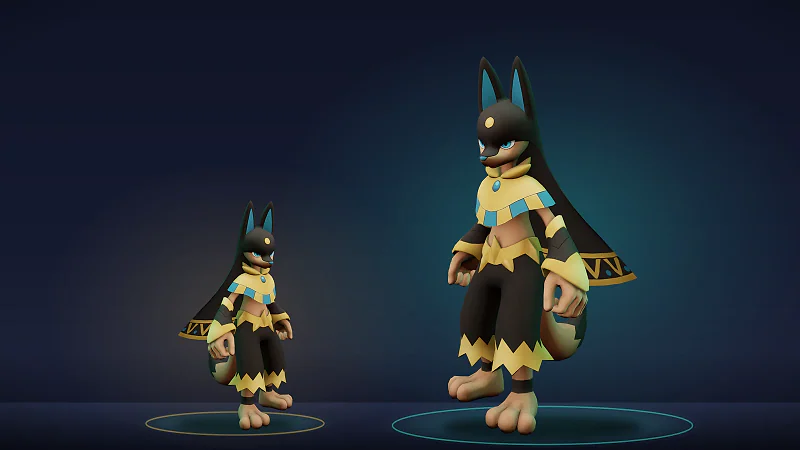
Alpha status changes exactly one combat stat, a 20% additive HP bonus. Whether that beats the bigger hitbox depends on the species, the attack, and how you pilot. Here is the full Alpha or normal decision, from arena fights to expeditions.
PalMods Team
Unlock all nine Hard Mode tower bosses, compare exact encounter tuning, master the five-minute clock, and claim every leader trophy in Palworld 1.0.
PalMods Team
Every solo Arena ticket payout, the verified Legend enemy stats that explain why the last bracket feels unfair, the force-target command that ends matches faster, and what to buy first from the shop.
PalMods Team
Comments
Loading discussion...