01

Rayne Syndicate
Zoe Hat
Zoe and GrizzboltUse the first rematch as a clean damage check before the later towers punish downtime.
Hard Mode
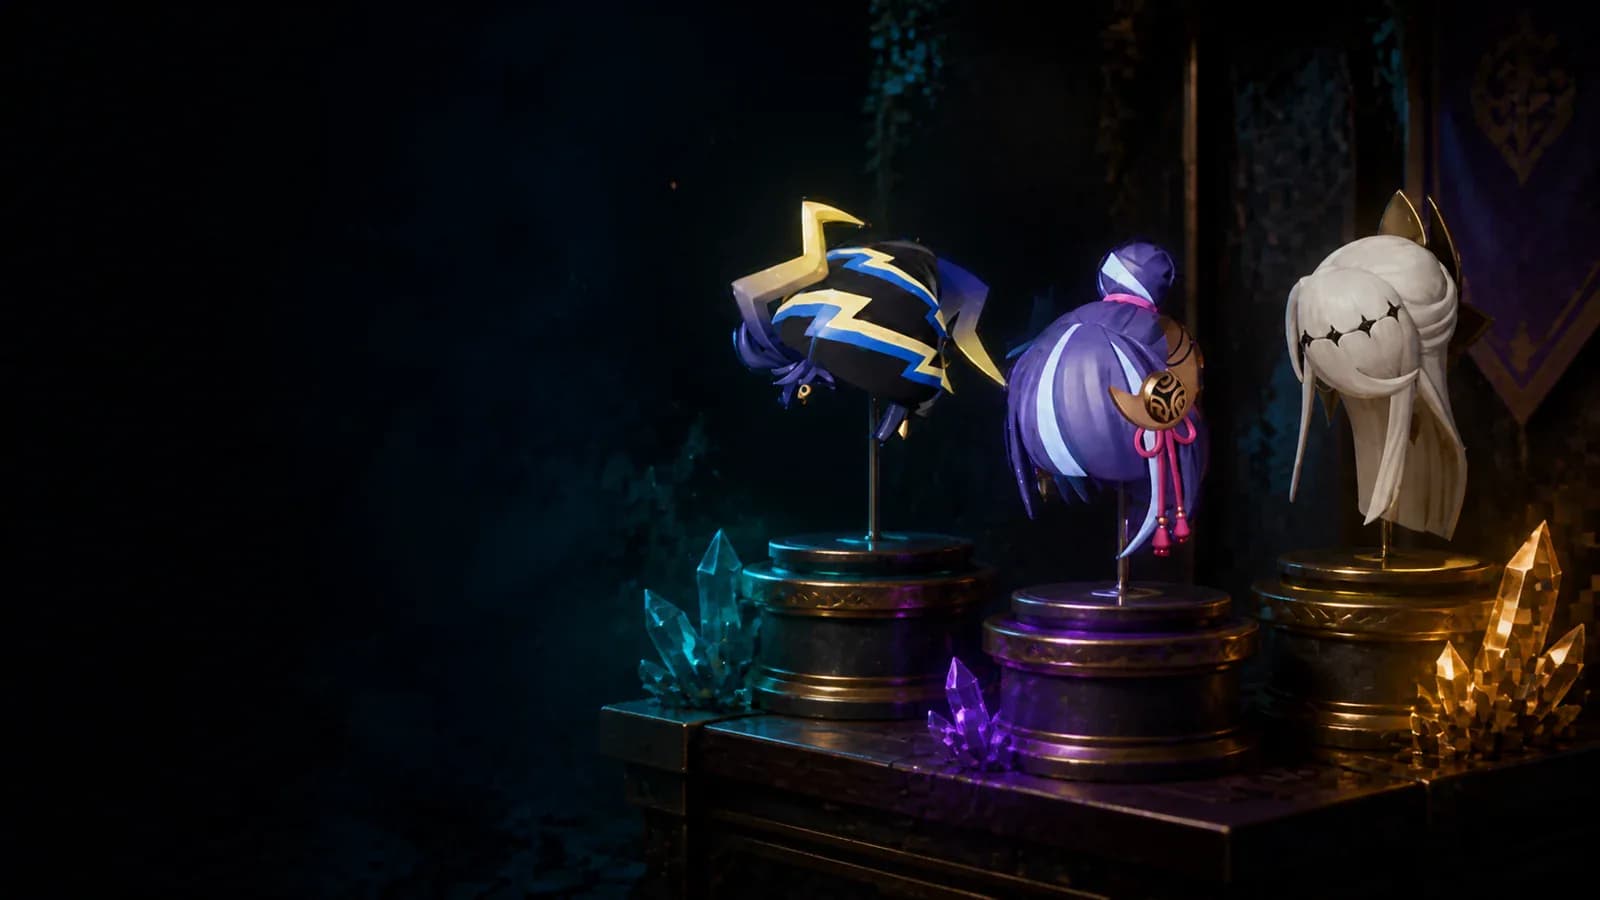
A visual 13-piece wardrobe for every Hard Mode tower hairstyle and Ultra raid headpiece, plus the exact route that prevents a costly clear on the wrong difficulty.
Normal victories move progression forward, but the wearable trophy sits one tier higher. Tower rewards are direct items, while each raid headpiece requires its matching Ultra victory.
Palworld turns its boss wardrobe into a record of endgame mastery. The confusing part is that the visible reward rarely comes from the first victory: story clears and standard raids open doors, while the trophy waits behind the rematch built to test the finished version of your roster.
The current 1.0 collection extends beyond the older seven-leader lists. Auri and Zenara bring the tower wardrobe to nine direct wearable items. Use the icon gallery as a post-clear inventory audit and the notes as a sensible order for your rematches.
Use the first rematch as a clean damage check before the later towers punish downtime.

Keep continuous pressure while respecting the rematch pattern instead of overbuilding defense.

Bring enough ammunition to maintain player damage through every Pal skill cooldown.

Treat target visibility and safe firing time as part of your damage budget.

This is the last classic tower check and a useful gate before the newer rematches.

Use a mature loadout and preserve movement during the most dangerous attack windows.

Enter with current armor, reliable climate preparation, and a rotation that wastes no timer.

Auri is a 1.0 addition and the normal victory is the key access gate for Hard Mode.

Save the final trophy for a World Tree build with fully upgraded weapons and Pals.
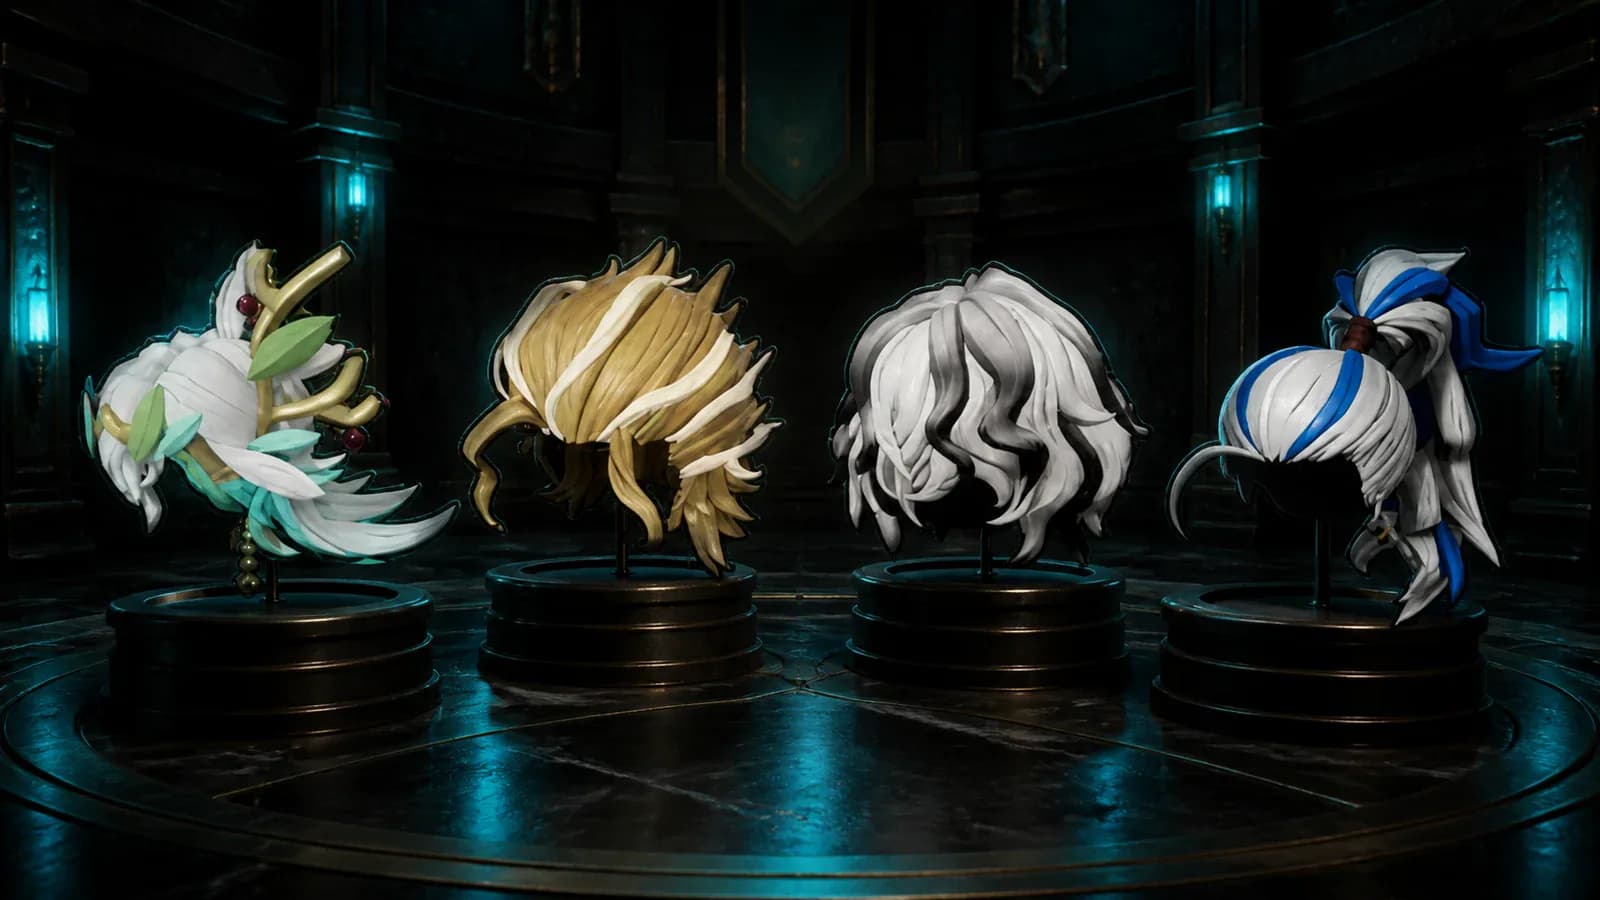
Treat the wardrobe as a victory wall. Each piece should map to one named Hard Mode clear, with Auri and Zenara completing the modern 1.0 set.
Finish the normal story route through Auri and Shaolong, then choose Hard Mode at a tower entrance. Changing the whole world's general difficulty is unnecessary and does not substitute for selecting the labeled rematch that owns the cosmetic reward.
Defeat Auri and Shaolong at the Azure Covenant Tower on normal difficulty. This is the current 1.0 gate that opens the Hard Mode rematch system.
The rematch is chosen for the boss encounter. You do not need to change the general difficulty of the entire world.
Build for damage uptime, not merely survival. Player weapon pressure should continue while Pal skills rotate.
Tower hairstyles and hats are wearable item rewards. There is no schematic, workbench recipe, or crafting step after the clear.
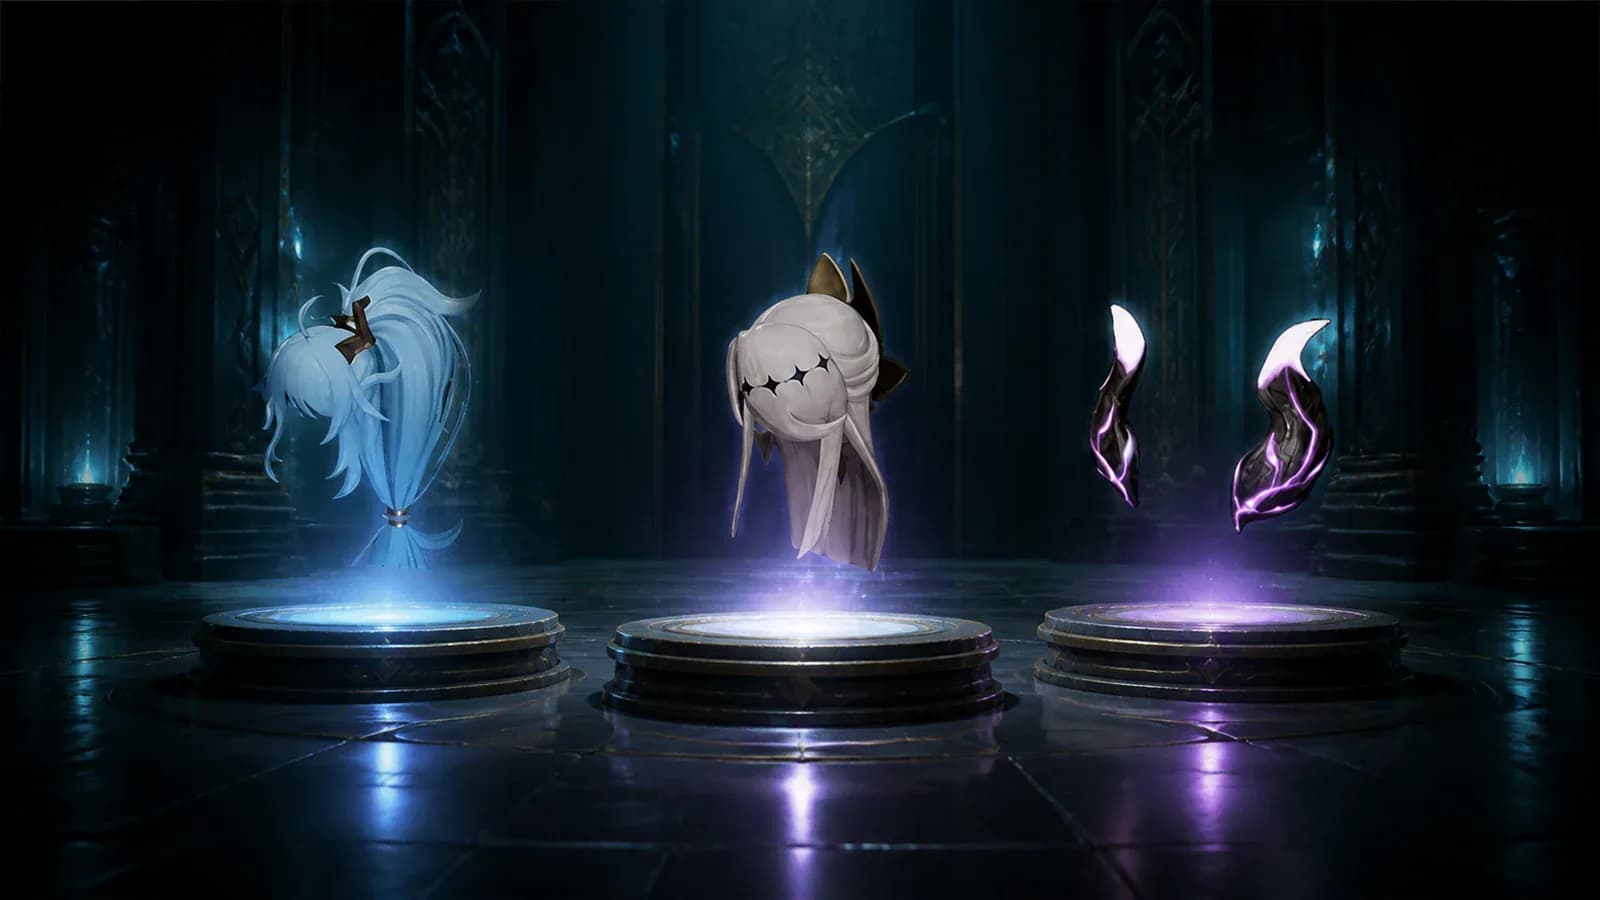
The best collection run keeps a stable player-damage backbone and swaps matchup tools instead of rebuilding the character for every tower.
A timeout with boss health remaining is a damage problem. Upgrade the weapon, reduce dead time between Pal skills, and keep firing during safe windows before adding more armor. A comfortable survivor who misses the clock still leaves the hat in the vault.
Use the highest-rarity current weapon you can sustain with a full ammunition reserve.
Stack legal food, accessory, and passive bonuses that increase active firing value.
Bring a matchup answer, then rotate it safely instead of leaving it exposed during cooldowns.
Avoid three long-cooldown skills firing together. Stagger them to preserve pressure.
Carry enough armor and shields to keep attacking, but stop adding defense once damage is the failure.
Ultra raids are not five-Pal tower fights with larger health bars. They consume rarer summons, threaten a prepared base arena, and demand a deep reserve army. Farm the standard route first, improve the roster from its rewards, and spend the Ultra summon only when a failed attempt will not collapse the project.


Standard Bellanoir progression into the Libero Ultra summon


Blazamut Ryu slab farming into the Ultra raid project


Standard Xenolord ownership route followed by the Ultra trophy fight


Hartalis progression into the highest-tier summon
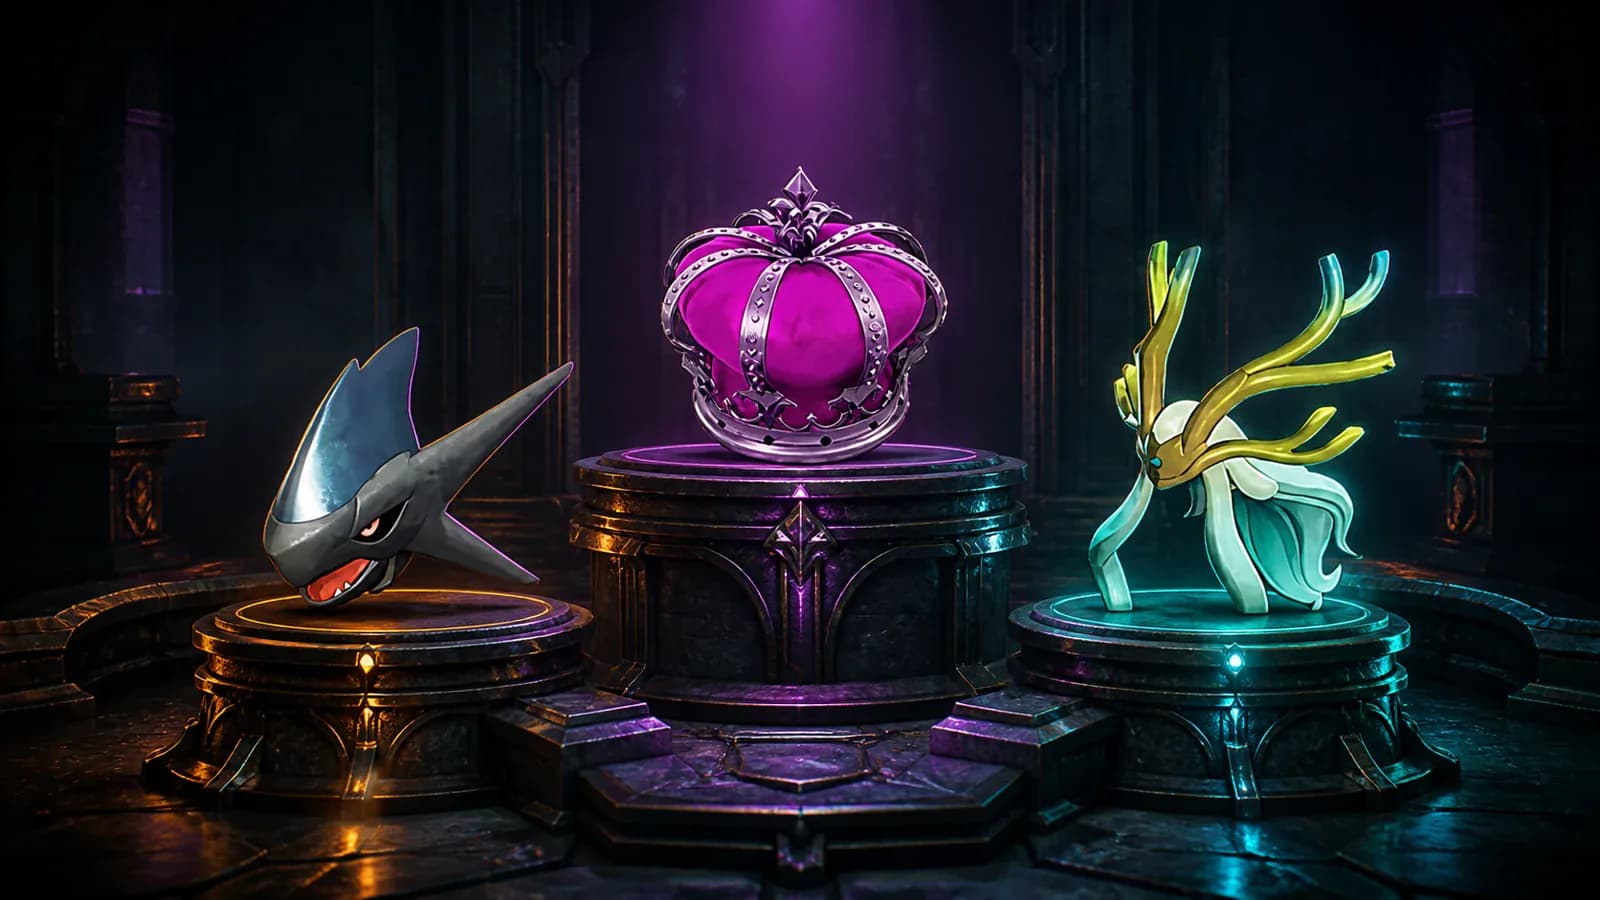
The Witch's Crown, Horns of Supremacy, Xenolord's head, and Crown of Salvation are the visible finish lines of four costly Ultra projects.
Split the wardrobe into two campaigns. Use early Hard Mode towers to calibrate one reusable combat core, finish the four late rematches after World Tree upgrades, then move to a purpose-built raid base for the Ultra shelf. Mixing both projects creates unnecessary gear swaps and expensive distractions.
Open Hard Mode once, activate the full travel network, and prepare one endgame weapon core.
The original five rematches reveal whether your damage, ammunition, and Pal rotation are ready.
Change matchup tools around the same player-damage backbone instead of building four unrelated kits.
Raid arenas, base armies, summon costs, and failure recovery make the Ultra wardrobe a different campaign.
Difficulty and rarity make these pieces prestigious, not automatically best in slot. Compare armor and resistance against the practical helm in your current build. The cosmetic display system lets the trophy remain visible when a different item deserves the combat slot.
Prestige is the point. Compare real defenses first, then use cosmetic display options to preserve the boss look when a stronger practical headpiece wins the numbers.
Proof of a Hard Mode or Ultra clear and a memorable silhouette for screenshots.
Use the actual armor and resistance numbers, not rarity or difficulty alone.
Most missing rewards are classification mistakes: normal instead of Hard Mode, standard instead of Ultra, or wearable item instead of schematic. Check those facts and protect the save before consuming another summon or repeating a timed rematch.
Confirm the encounter explicitly said Hard Mode. A normal repeat is the most common wrong run.
The page is outdated. Palworld 1.0 adds Auri Hat and Zenara Hat for a total of nine tower pieces.
Confirm the summon was Ultra, not the standard boss used to advance the raid line.
Search wearable equipment, inventory, and cosmetic display. These rewards are not schematics.
Protect the save, inspect inventory and storage, then reload before spending another rare summon.
The complete boss trophy wardrobe contains 13 pieces: nine Hard Mode tower rewards and four Ultra raid headpieces.
No. Normal clears advance the story, but the matching wearable cosmetic is tied to the Hard Mode rematch.
No. Hard Mode is selected for the rematch at the tower entrance after the current unlock condition is met.
No. The tower rewards are direct wearable items. Check the equipment and cosmetic display flow rather than a workbench recipe list.
The visible trophy belongs to the Ultra version. Standard raids are typically part of the progression route toward that higher-tier summon.
Treat them primarily as prestige cosmetics. Compare their actual defenses with your current helm and use the cosmetic display system when another combat piece is stronger.
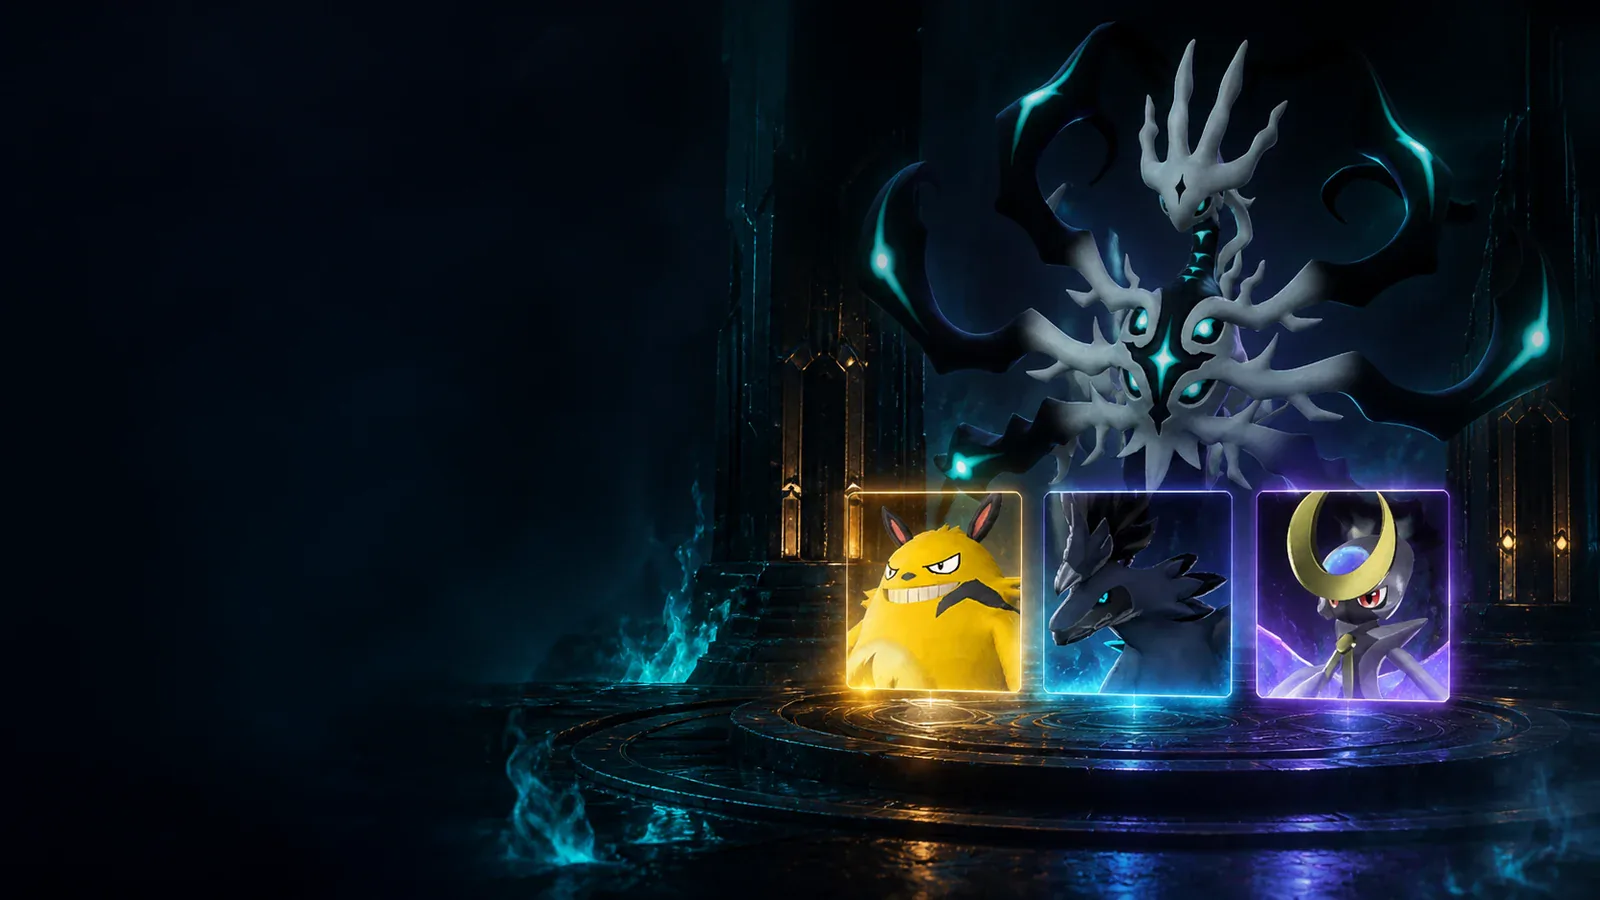
Unlock all nine Hard Mode tower bosses, compare exact encounter tuning, master the five-minute clock, and claim every leader trophy in Palworld 1.0.
PalMods Team

Panthalus is the level 70 Water Legendary guarding the World Tree, and it is the only boss with a guaranteed catch. Here is the summon route, the full-Electric party, the three mechanics that decide the fight, and why the sphere at one HP never misses.
PalMods Team
Every solo Arena ticket payout, the verified Legend enemy stats that explain why the last bracket feels unfair, the force-target command that ends matches faster, and what to buy first from the shop.
PalMods Team
Comments
Loading discussion...