01
Use one map from inventory
The consumable disappears and creates a buried-treasure objective. Keep the next map untouched until this dig is complete.

Every map tier, its strongest source examples, exact reward progression, 42 exported dig points, and a farming circuit that makes each consumed map worth the flight.
A Treasure Map is consumed from inventory and creates a direct world-map objective. Follow the compass to the glowing interaction point, collect the randomized tiered reward, and finish that route before opening the next map.
Treasure Maps are more than bonus chests. They turn exploration into a controlled route where the map chooses the destination and you decide how much extra value to collect on the way. The difference between a forgettable dig and a great one is the circuit wrapped around it.
Use exactly one map, identify the nearest travel point, and treat the compass as the final precision tool. No shovel, workbench, or crafted key is involved. The only item cost is the consumed map itself.
The consumable disappears and creates a buried-treasure objective. Keep the next map untouched until this dig is complete.
This is a direct destination, not a hand-drawn riddle. Zoom out first so you understand which travel network serves the route.
Add nearby enemy camps, bounties, dungeons, fast-travel points, and collectibles before taking off.
Altitude and terrain can hide the exact spot. Slow down near the marker and look for the glowing interaction point.
No shovel is crafted or equipped. Confirm the loot and achievement counter before consuming the next map.
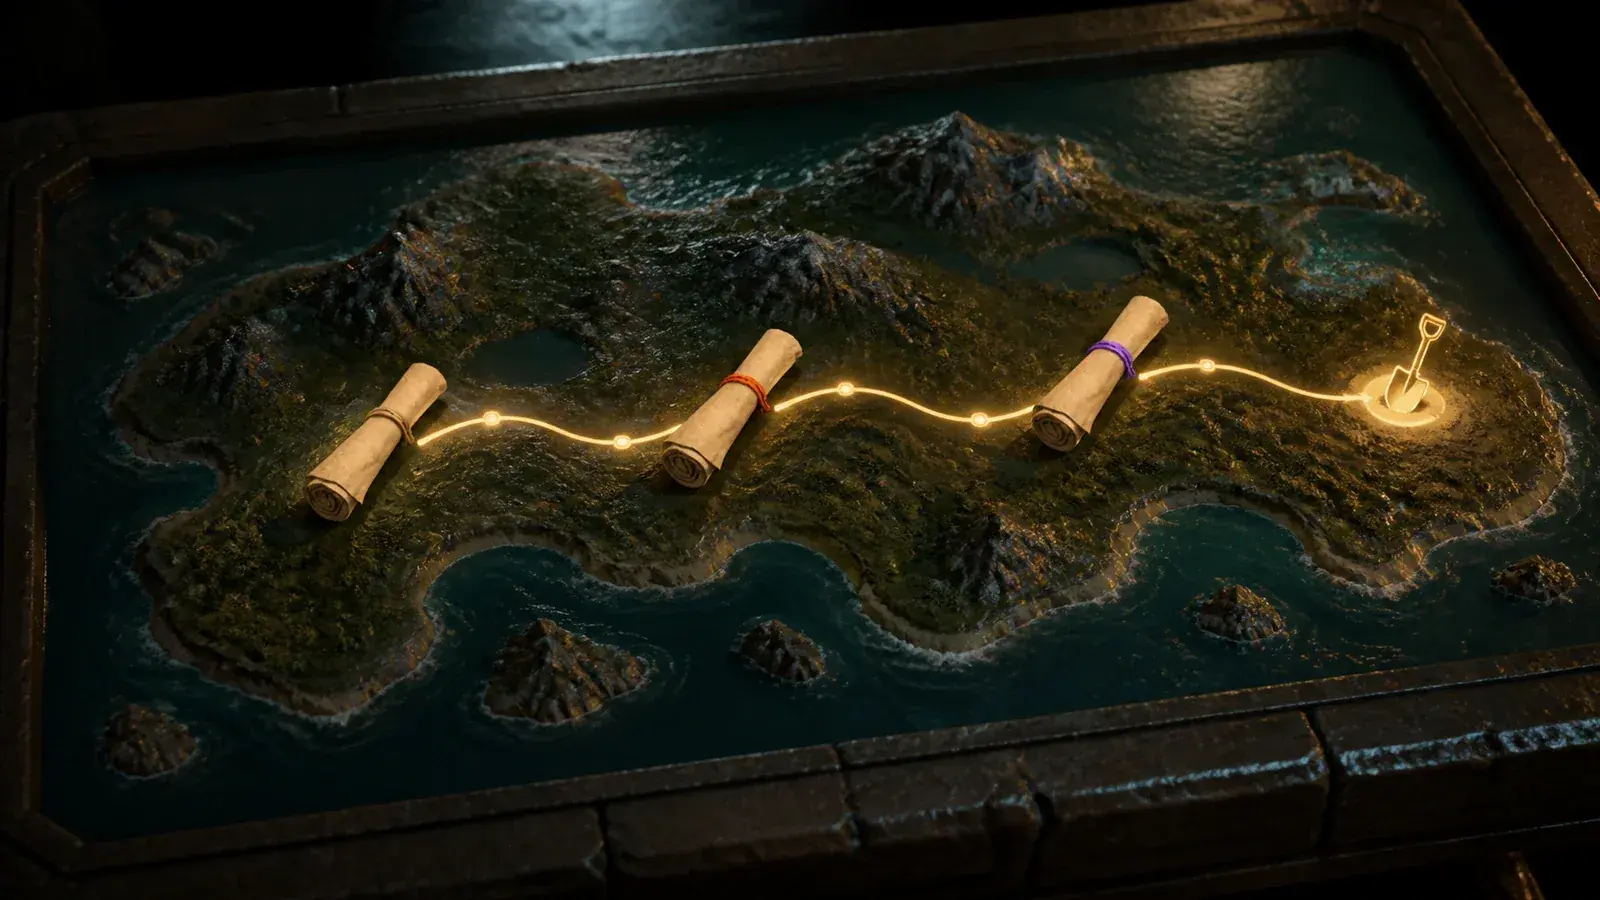
The map gives the destination. Your job is to turn that destination into a route with useful stops before and after the dig.
The five item IDs are a real progression ladder, not cosmetic recolors. Guaranteed medicine improves at every tier, stat-fruit chances rise sharply, handbook quantities scale from one to three, and the schematic families move from early cloth to Hexolite.

Achievement progress and early account value

Midgame weapons, armor, and work progression

Late-midgame combat and stat-fruit farming

Endgame schematics and doubled handbook rolls

Best overall pool and late-game account growth

Map rarity changes the quality and era of the reward pool, but even the gold tier remains a randomized opportunity rather than a guaranteed named schematic.
The 1.0 export places maps in several loot systems, but enemy-camp rewards give the clearest repeatable ladder. Late sea-base and Sky Island examples can dedicate their map slot to Map 5, while dungeons, regional chests, and salvage work better as bonuses inside a broader route.

The export ties every map tier to enemy-camp reward pools, with the strongest Map 5 examples in late regional sea-base and Sky Island camps.

Several regional dungeon technology-book pools include maps. Treat them as a useful extra when the dungeon already advances another goal.

High-grade regional chest slots can roll maps, but they are less clean to target than a compact repeatable camp circuit.

Map 5 appears in a high-rank salvage pool at a very small listed chance, so salvage is a windfall, not a dedicated farm.

The ideal circuit opens a camp reward, completes the dig, activates or uses fast travel, and finishes through a dungeon or bounty corridor.
These coordinate records span the world rather than clustering around one ideal base. That is why travel coverage matters more than memorization. Unlock fast travel, maintain climate gear, and use a fast mount so a distant roll does not become a bad map.
Every tier begins with dependable recovery value, then layers in stat fruit, Applied Work Suitability handbooks, and era-appropriate schematics. Map 5 is especially strong because three Revival Potions are guaranteed before its randomized late-game rolls are considered.
Chance values describe the listed item roll inside that map's reward pool.


Five successful interactions complete the achievement. Any qualifying tiers can move the counter, so use lower maps during normal exploration instead of hoarding them. Confirm each reward before opening the next route and the audit becomes effortless.
Use map, reach marker, interact, verify reward.
Use map, reach marker, interact, verify reward.
Use map, reach marker, interact, verify reward.
Use map, reach marker, interact, verify reward.
Use map, reach marker, interact, verify reward.
Start from fast travel, add a camp or bounty on the outbound leg, open the dig, then finish through a dungeon when the geography supports it. Move to a harder region only when the loop remains cheap enough to repeat without draining ammunition and repairs.
Begin at the nearest unlocked travel point instead of flying from base by habit.
The trip should produce another map, token, or large chest before the dig is even opened.
If the route passes a useful dungeon, use it as the final leg rather than making a second flight later.
A higher tier becomes efficient only when ammunition, repairs, and travel time no longer erase its value.
The best farm is the highest circuit you can repeat cheaply, not the hardest camp you can barely survive once.
No tool is required. The glowing point itself supplies the interaction.
The consumable places a direct world-map and compass objective.
Map 5 improves the pool but still rolls randomized schematics and progression items.
Move up when your route becomes cheap enough to support stronger regional reward pools.
Use five during ordinary exploration so the achievement is complete before the final audit.
No. Use the map, travel to its marker, and interact with the glowing dig point. There is no shovel recipe or equipment requirement.
There are five item tiers: Common, Uncommon, Rare, Epic, and Legendary, represented by Treasure Map 1 through Treasure Map 5.
No. Map 5 opens the strongest buried-treasure pool, but its schematic and progression-item rolls remain randomized.
The current 1.0 export lists three Revival Potions as the guaranteed medicine reward in the Treasure Map 5 pool, beside randomized fruit, handbook, and schematic rolls.
Complete five successful Treasure Map digs. Verify each reward interaction before activating the next map so the counter stays easy to audit.
The clean route is one map and one completed dig at a time. This prevents marker confusion and makes achievement progress easy to verify.

Palworld's island enemy bases hold legendary treasure maps, gold keys, and top-tier schematics behind walls of high-level guards. One main chest quirk, plus Leezpunk's invisibility, lets you strip them bare without firing a shot.
PalMods Team

Panthalus is the level 70 Water Legendary guarding the World Tree, and it is the only boss with a guaranteed catch. Here is the summon route, the full-Electric party, the three mechanics that decide the fight, and why the sphere at one HP never misses.
PalMods Team

Every solo Arena ticket payout, the verified Legend enemy stats that explain why the last bracket feels unfair, the force-target command that ends matches faster, and what to buy first from the shop.
PalMods Team
Comments
Loading discussion...