Story route
Advance the normal tower story
Reach Sunreach and the Azure Covenant Tower through the current 1.0 progression.
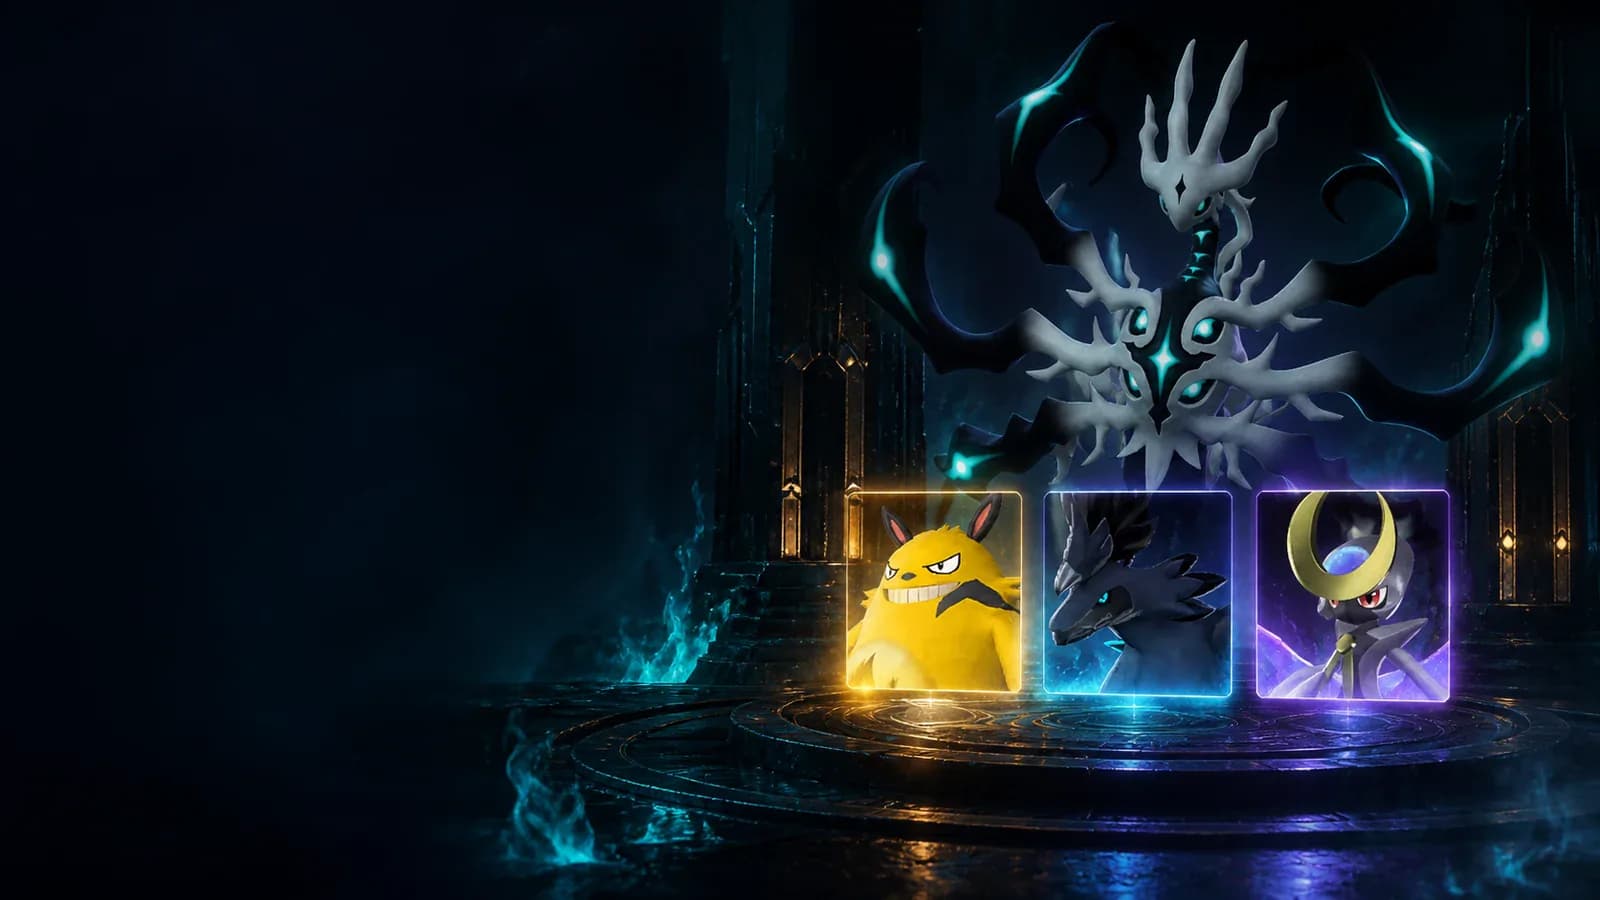
Unlock the current Hard Mode ladder, read every exported encounter row, build one reusable damage core, and climb from Zoe to the World Tree without guessing at the final boss's element.
This is an explicit rematch layer, not the save-wide Hard preset. Start with Zoe, measure your five-minute damage, and save Zenara for a complete World Tree build.
The gate is a normal-difficulty victory over Auri and Shaolong. Once that flag is set, return to any tower entrance and select Hard Mode directly. Older all-tower instructions and the Hard world setting describe different systems.
Reach Sunreach and the Azure Covenant Tower through the current 1.0 progression.
The normal-difficulty Azure Covenant victory sets the Hard Mode access flag.
Choose the explicit Hard Mode rematch. Do not change the entire world difficulty preset.
Zoe through Axel calibrate the core build, Marcus and Victor close the original arc, Saya and Bjorn test expansion readiness, Auri validates Sunreach investment, and Zenara is the final mechanics exam. Rebuild only when the next matchup proves it necessary.

Use this opening rematch to measure weapon uptime, ammunition burn, and recall timing.

Bring reliable Fire pressure and keep shooting while Lyleen moves between Pal skills.

Use trained Ice and Ground attacks instead of forcing one Pal to answer both elements.

Use Water pressure, clear sight lines, and a weapon that stays accurate against aerial movement.

Bring durable Dragon attackers and preserve player damage through Shadowbeak movement.

Alternate trained Dragon and Dark attackers while leaving the center before effects overlap.

Favor pure Fire attackers and solve extreme cold without sacrificing the damage build.

Enter at level cap with awakened Ice and Electric pairs, best-in-slot defense, and practiced movement.
Use a maximum-investment roster, Ancient-series defense, Paloxite weapons, and a mastered weak-point cycle.
The strip visualizes the product of two exported tuning fields for relative comparison only. It is not presented as the boss's final displayed health total.
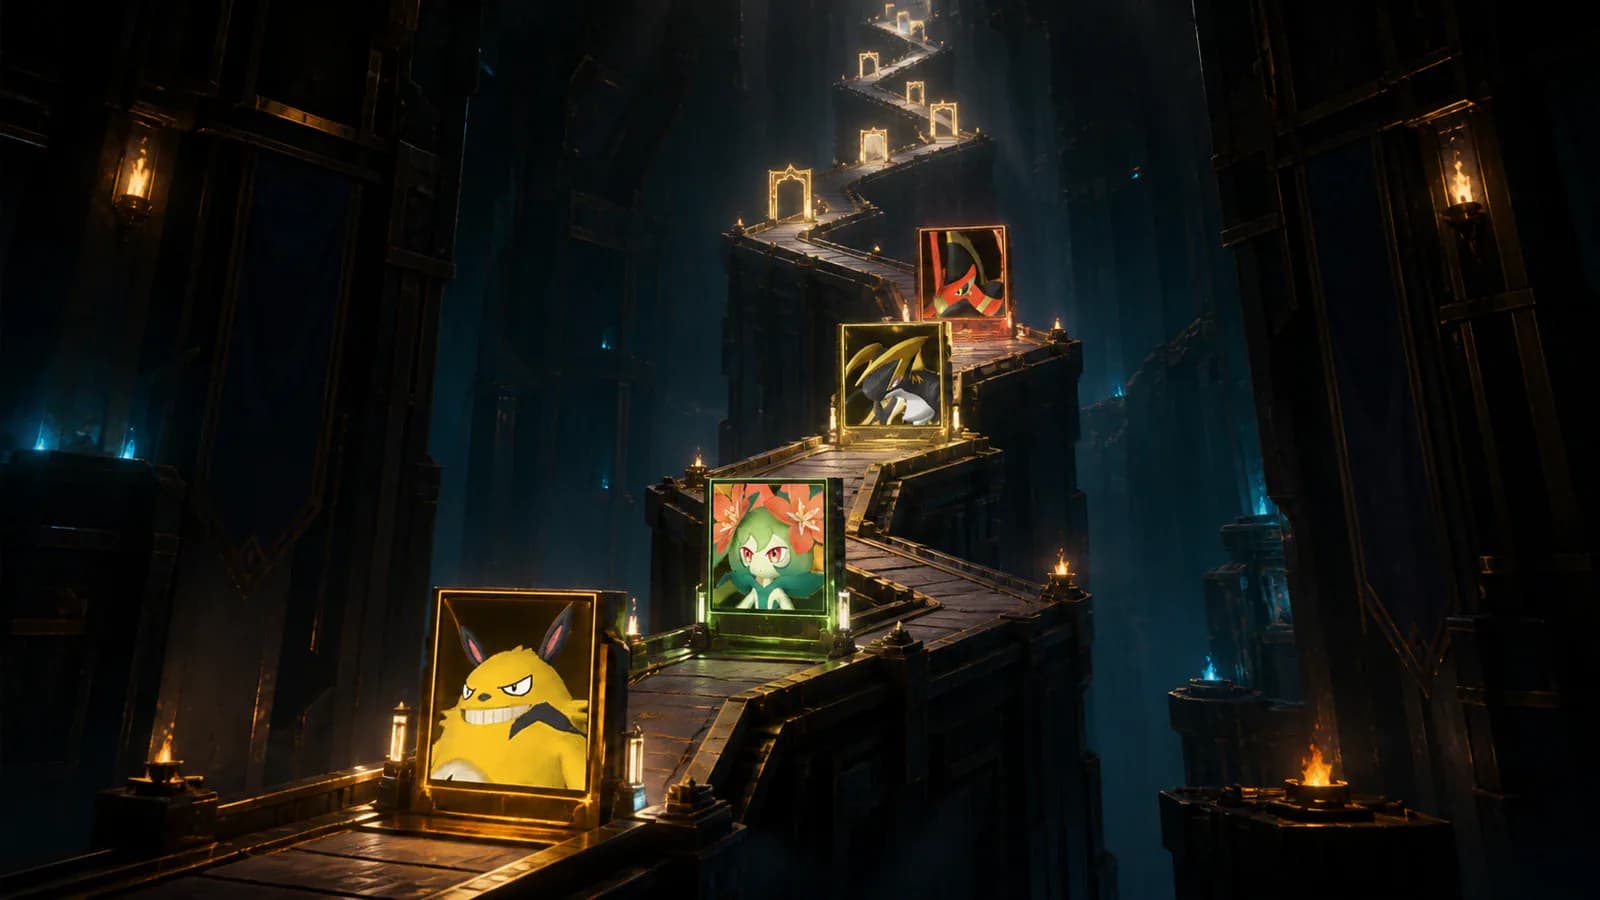
The clear order deliberately increases complexity. Keep a stable weapon, defense, and rotation core, then swap confirmed element lanes instead of rebuilding the entire party.
The timer fell from ten minutes to five with encounter parameters adjusted for the new pace. Survival matters only when it protects damage uptime, so every reload, missed cast, late recall, and long defensive pause must earn its seconds.
Full magazines, repaired armor, charged shield, active food, and the safest opener already selected.
You should know the tracking attacks, safe lanes, and whether your first Pal survives a full rotation.
Near half time, a healthy clear should also be near half health. A large gap is a damage problem.
Use saved high-confidence skills and keep player damage active through recalls and reload dodges.
Record remaining boss health and the exact failure mode before changing the build.
Full magazines, repaired armor, active food, medicine, and a fixed swap order turn the first minute into damage instead of inventory management.
The same foundation supports every tower: a sustained player weapon, five genuinely upgraded Pals, defense that keeps you attacking, and counter lanes tied to the current encounter. Species reputation cannot compensate for unfinished stats or inaccurate skills.
Bring enough ammunition for continuous pressure and a second weapon that covers reload gaps.
Level, rank, souls, passives, and accurate active skills matter more than a famous species name.
Endgame armor, shield, recovery medicine, and climate protection should preserve damage time.
Use the exported elements above. For Zenara and Astralym, focus on mechanics and raw build quality.
A good rotation spends Pal cooldowns while the player supplies continuous damage. Recall before a lethal telegraph, not after the Pal collapses, and use the next prepared slot immediately. The rotation should feel mechanical enough to execute under pressure.
Start with a Pal that can safely complete its strongest reliable skills.
Pal animations and cooldowns are not permission to stop weapon damage.
Preserve the roster instead of gambling the last half of a health bar.
Use a fixed order so the swap costs seconds, not decision-making time.
The 1.0 dodge and dash behavior lets movement protect uptime instead of canceling it.
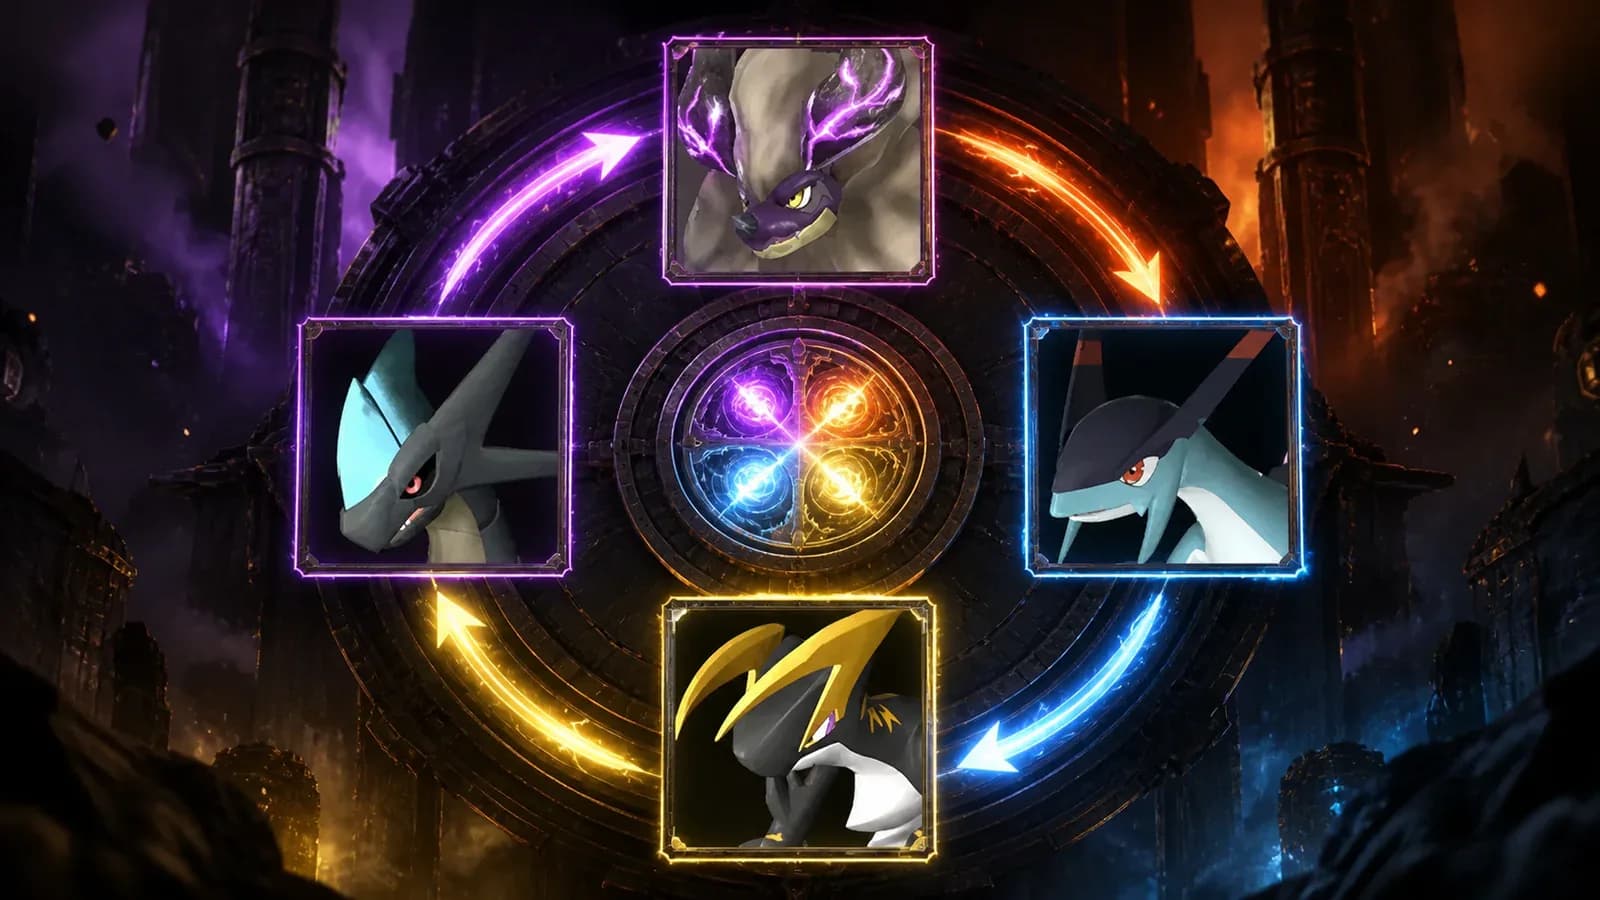
Hard Mode punishes empty seconds. Player fire, Pal skills, recalls, movement, and reload dodges should overlap instead of taking separate turns.
The cosmetic set follows the same nine-fight ladder from Zoe Hat through Zenara Hat. Treat each item as an audit marker: if the expected trophy is missing, confirm that the entrance explicitly said Hard Mode before repeating the encounter.

A clean clear proves the foundation, not the entire roster.

Long misses are more dangerous than choosing a slightly weaker accurate skill.

This is the first clear that should test a deliberate mixed counter roster.

If shots miss during every traversal, fix accuracy before adding more nominal damage.

The original five-tower arc should feel stable before expansion fights.

Compact mobile Pals are easier to preserve than huge bodies in stacked effects.

Fragile Dragon and Fire hybrids can lose the matchup despite dealing Fire damage.

The normal Auri clear unlocks Hard Mode; the rematch proves the Sunreach build.

Break charged wing and leg targets, respect immunity, and never invent an elemental shortcut.
A large health segment at timeout points to missing output. A near clear points to uptime leaks. Early Pal collapses expose survival or recall problems, while wildly different results suggest unreliable skills and inconsistent execution. Diagnose before rebuilding.
Raise weapon tier, attack support, Pal investment, or skill accuracy.
Cut reload gaps, missed long casts, late recalls, and unnecessary defensive pauses.
Improve souls, defense, food, type safety, and recall timing.
Favor reliable skills, clearer sight lines, and a repeatable swap order.
The safe rules are simple: unlock at Azure Covenant, enter the selectable rematch, plan around five minutes, use only confirmed elements, and reserve the World Tree finale for maximum investment and practiced weak-point execution.
Defeat Auri and Shaolong at the Azure Covenant Tower on normal difficulty, then select Hard Mode at a tower entrance.
No. Tower Hard Mode is a selectable rematch layer. It does not require changing the save-wide difficulty preset.
The current tower limit is five minutes, reduced from ten minutes with boss parameters retuned around the shorter pace.
Use progression order from Zoe and Grizzbolt through Zenara and Astralym. It provides a clean readiness ladder and reduces unnecessary rebuilds.
Each of the nine rematches awards the matching leader cosmetic, from Zoe Hat through Zenara Hat, alongside its challenge rewards.
The current encounter row exposes no element. Do not assign a made-up weakness; prepare around weak-point mechanics, immunity windows, and maximum build quality.
Record the boss health at five minutes. A large remainder indicates missing damage, while a near clear usually points to lost uptime, misses, or slow swaps.

Panthalus is the level 70 Water Legendary guarding the World Tree, and it is the only boss with a guaranteed catch. Here is the summon route, the full-Electric party, the three mechanics that decide the fight, and why the sphere at one HP never misses.
PalMods Team
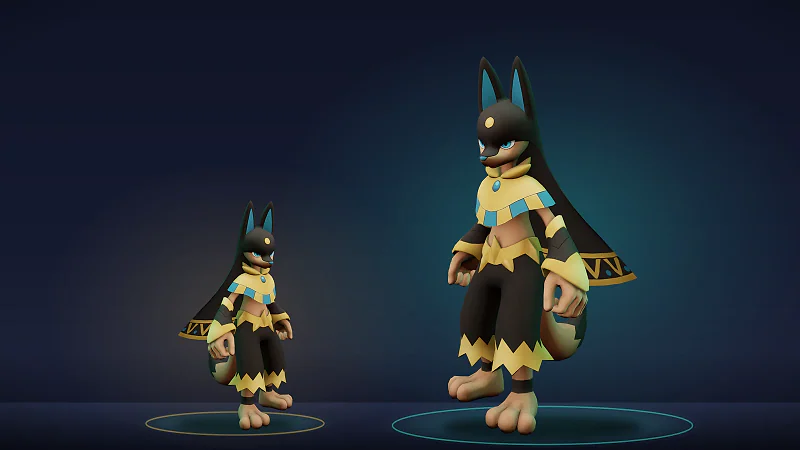
Alpha status changes exactly one combat stat, a 20% additive HP bonus. Whether that beats the bigger hitbox depends on the species, the attack, and how you pilot. Here is the full Alpha or normal decision, from arena fights to expeditions.
PalMods Team
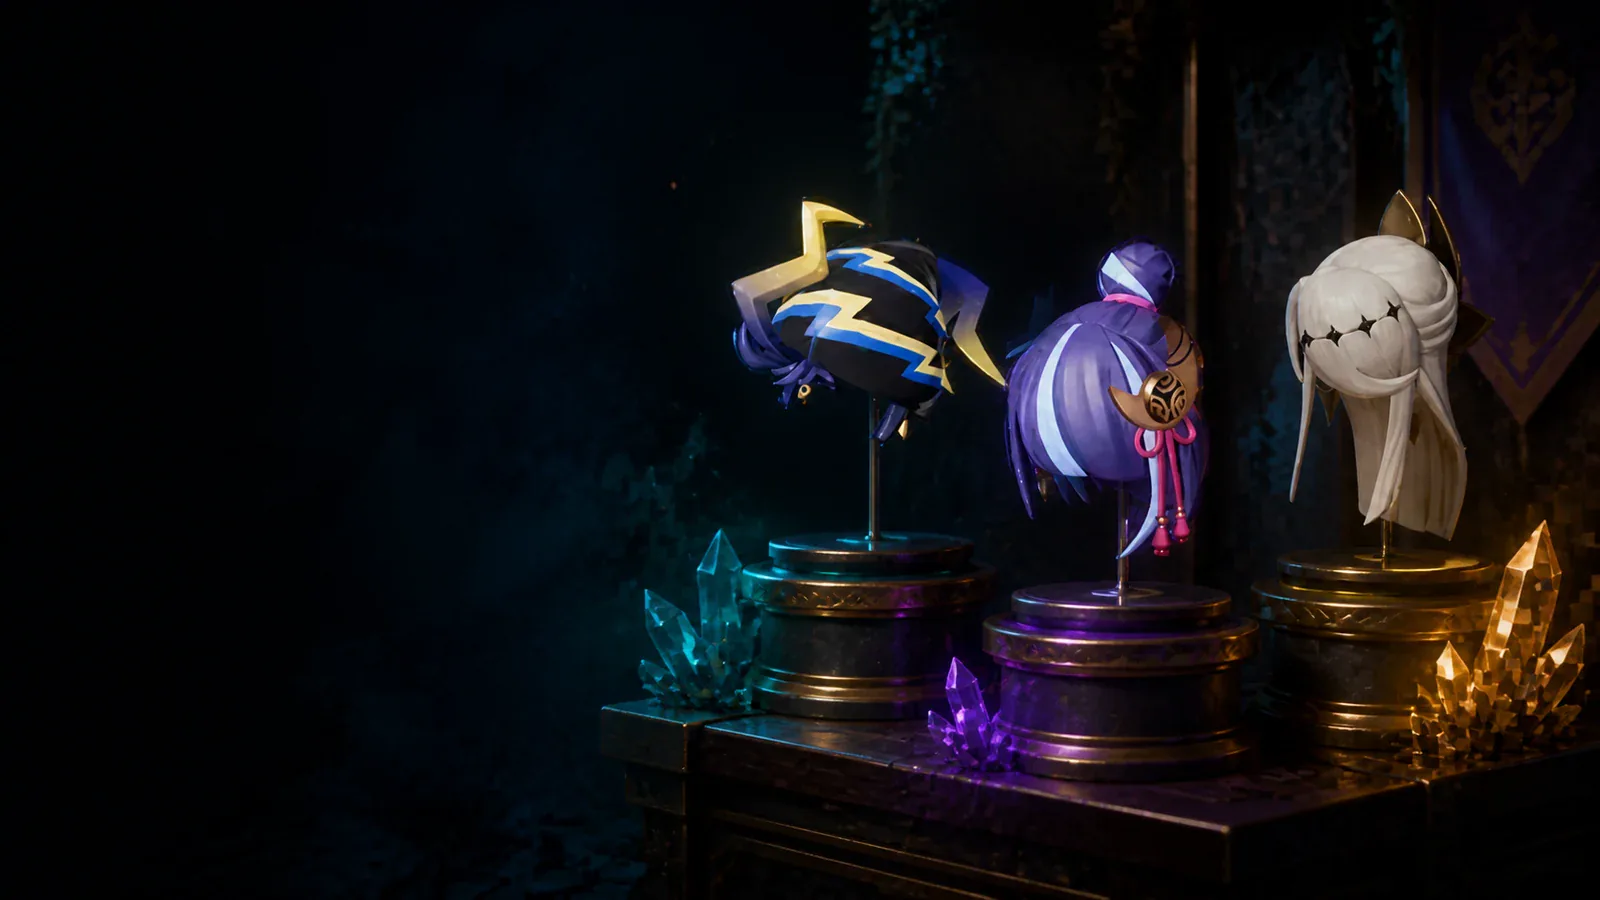
Find all 13 Palworld boss hats and hairstyles, including nine Hard Mode tower rewards and four Ultra raid headpieces, with the fastest 1.0 unlock route.
PalMods Team
Comments
Loading discussion...