The short version#
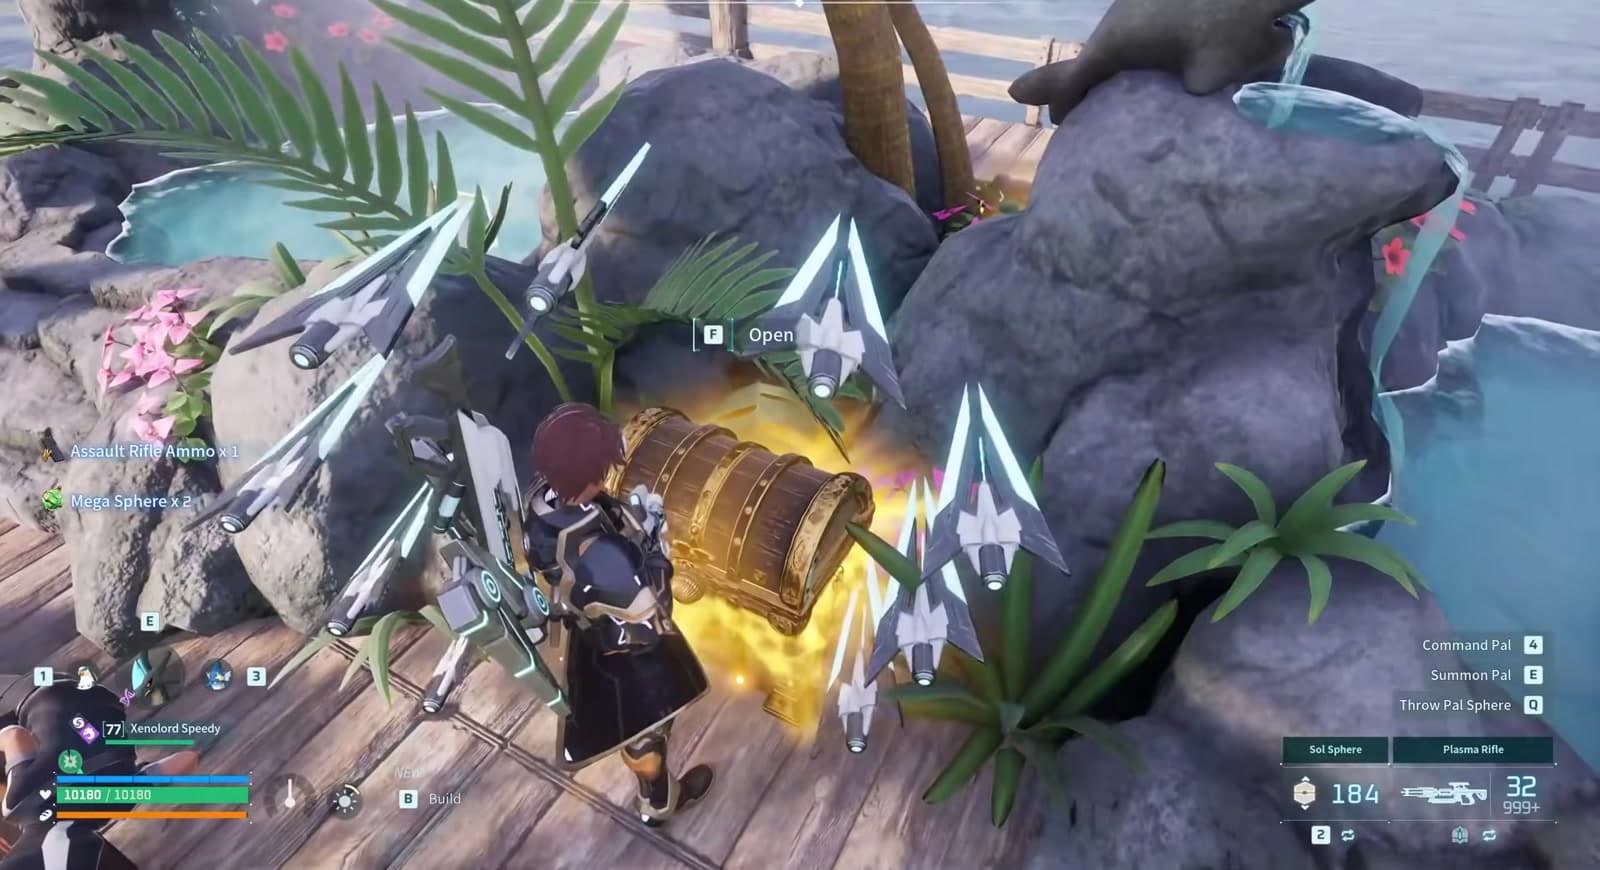
The best armor and weapons in Palworld 1.0 are locked behind legendary treasure maps, and the odds on any single dig are stingy. The maps themselves are the real grind, so the fastest route to full best-in-slot gear is stacking maps as quickly as possible and then squeezing every chest for maximum value.
That means three things: clear the new enemy bases for map drops, sweep enemy camps on their daily reset, and know what to do when a chest gives you junk. If you want the full rundown of what the new gear actually is, our new equipment guide covers every 1.0 addition.
Where the new best gear comes from#
Palworld 1.0 added a new top tier of armor and weapons, and the highest drop rates for those items come from legendary treasure maps. If that loop sounds familiar, it should: it is the same strategy that fed the previous best-in-slot grind. The difference is that 1.0 also added better ways to farm the maps themselves.

The maps are only half the story. The chests inside the new enemy bases can also drop the new gear directly, so every base you clear is double-dipping: a shot at a treasure map and a shot at the item itself.
Farm maps from the new sky island and sea bases#
The headline change in 1.0 is a new source for treasure maps: enemy bases on the Sunreach sky islands and sea bases in high-level zones. These are advertised with a 100% treasure map drop rate, up from the old 50%.
In practice, it does not play out as a guaranteed drop. Clearing every one of these bases will not hand you a map every time. They are still the best place to start, because the base chests also pay out the new 1.0 items while you farm, but budget your expectations accordingly.

Add Sakurajima camps to the daily loop#
Because the new bases are not a true 100%, keep hitting the enemy camps on Sakurajima as well. Every enemy camp respawns after one full in-game day, so a daily sweep of the island drastically increases how many treasure maps you bank per session.

Reroll bad chests with two save files#
A legendary treasure map does not guarantee the item you actually want. If you are chasing a specific weapon or armor piece, there is a save trick that lets you reroll a chest instead of burning a new map on every attempt.

- Open a treasure map and travel to the marked dig spot.
- Standing next to the location, exit the game twice. Each exit writes a save, leaving you with two fresh save files.
- Load a save and dig up the treasure.
- Got the item you wanted? Carry on playing.
- Got junk? Exit and reload one of your saves, then dig again.
- If the game deletes a save file mid-reroll, load the other one, then exit twice again to rebuild your two-save safety net.
The second save file is the entire trick: if the game eats one, you load the other and lose nothing.
The guaranteed path: schematics and the drafting table#
If the reroll does not work for you, or you would rather not lean on a glitch, there is a slower but certain route. Clear all the enemy bases every day, keep every schematic that drops, and combine duplicates at the drafting table to craft upgraded versions of the new gear.

It is the least flashy option, but it converts a bad-luck streak into steady progress: every clear either drops the item, drops a map, or drops a schematic that feeds the drafting table.
- Clear every sky island and sea base for maps, gear, and schematics
- Sweep the Sakurajima enemy camps before the in-game day resets them
- Cash in banked legendary treasure maps, with the two-save reroll if you are chasing a specific item
- Feed duplicate schematics into the drafting table
Run that loop daily and the full legendary set is a matter of days, not weeks. And once you are geared, if you would rather remix the grind than repeat it, the mod catalog is open for business.


Comments
Loading discussion...