Beginner (Chillet)Technology
First casts and easy regions
Palworld 1.0 field guide
Palworld 1.0 Fishing Guide: Loot Tables, Best Pals & Bait
Master every rod, bait, glow, party bonus, salvage route, schematic pool, and fishing pond in one interactive guide built for your current level and farming goal.




- Fishing spots
- 469
- Rods
- 6
- Bait types
- 4
- Schematics
- 284
The definitive answer
Fishing is a renewable endgame system, not a side activity
One optimized ocean circuit can produce Alpha Pals, rainbow passives, schematics, keys, technical manuals, coins, spheres, regional materials, and salvage. The trick is to stack five different party jobs instead of filling the party with copies of one bonus.
01 / Build your crew
The best fishing party changes with the route
Choose what you are farming. The console swaps the fifth specialist, bait target, and field directive while preserving the core control and yield bonuses.
Selected mission
Talented Pal hunting
Maximize control and talent odds when the brightest silhouette matters most.
- Rod
- Advanced (Depresso)
- Bait
- Alluring Bait
01
Slows capture-gauge lossGloopieSticky Princess
02- Rank 1
- 12% slower drain
- Max
- 35% slower drain
Increases fishing itemsJellietteJelliette Drop
03- Rank 1
- +55% item yield
- Max
- +95% item yield
Starts and fills the gauge fasterWhalaskaChilled Whale Cruiser
04- Rank 1
- +5% start and overlap
- Max
- +14% start and overlap
Strongest capture assistWhalaska IgnisCozy Whale Cruiser
05- Rank 1
- +7% start and overlap
- Max
- +17% start and overlap
Finds talented Pals and crosses waterSolmora LuxShocking Fish
- Rank 1
- Better talent odds
- Max
- Best odds and +25% swim speed
Field directiveSweep the pool on Solmora Lux, then fish the intense purple glow first.
Max-rank target: maximum condensation now takes 48 total Pals, one keeper plus 47 fodder copies. Prioritize Jelliette and Jellroy because their final ranks raise every item haul. Starfruit can advance a Pal one named rank at a time for 50, 100, 200, then 400 Dog Coins.
02 / Learn the input
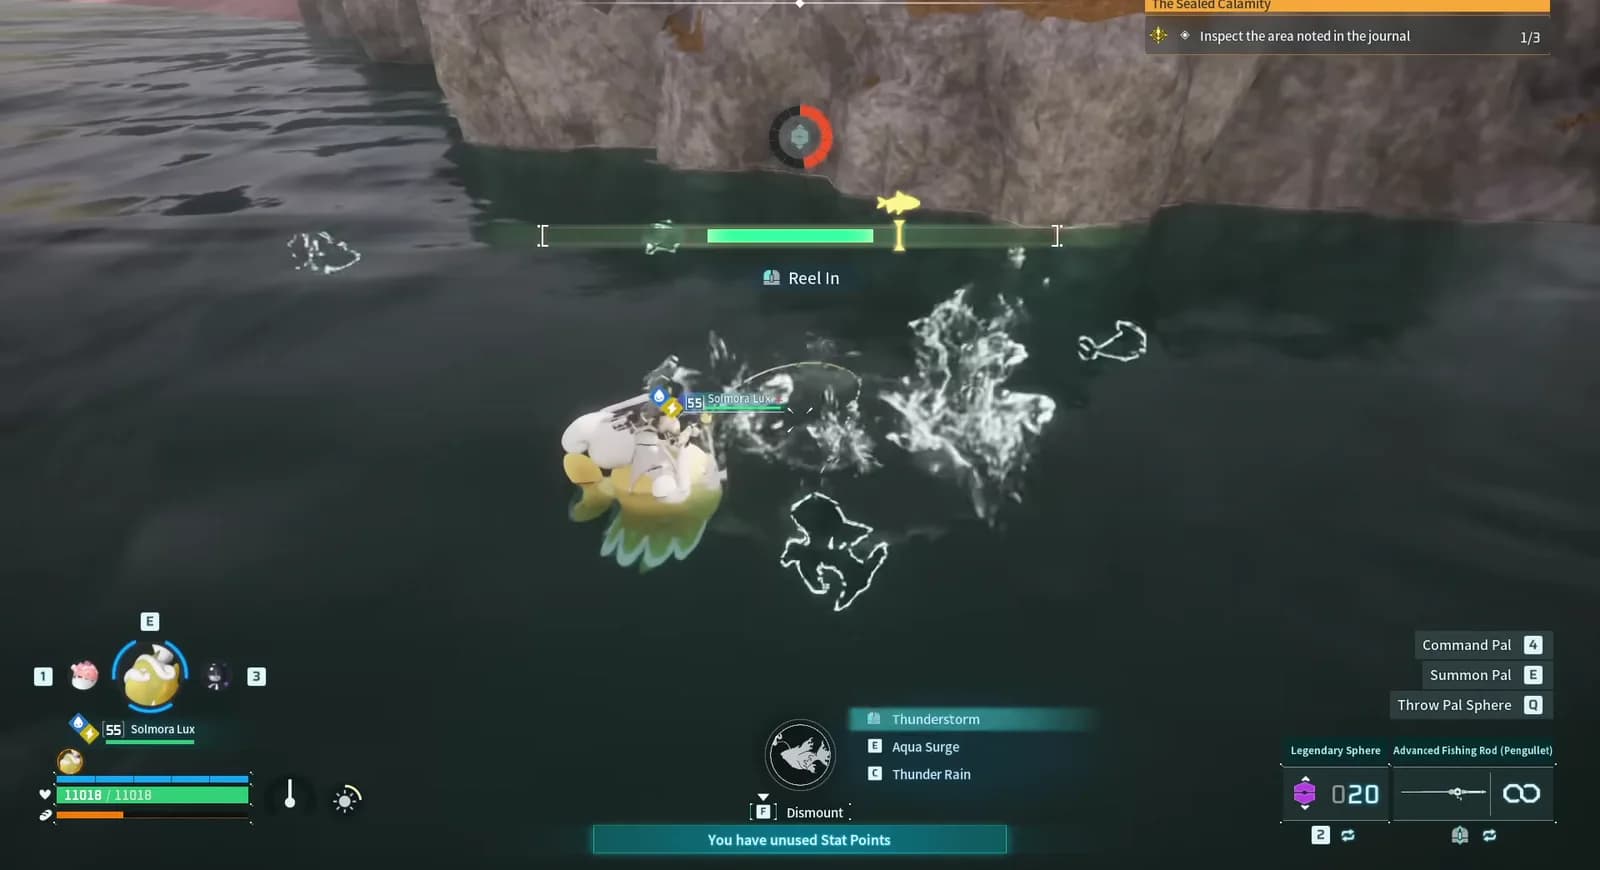
Hold right, release left, keep contact
The same input that casts controls the entire catch. Hold it to push the green bar right; release it to let the bar drift left. Your capture gauge rises only while the bars overlap.
Practice gaugeINPUT RELEASED
- 01Cast just above a pale silhouette.
- 02Pull when the second exclamation mark appears.
- 03Feather the input to overlap the fish icon.
- 04Fill the capture gauge and collect both Pal and loot.
03 / Set your level
Your rod and bait progression, without dead-end crafting
Pick your current milestone to see what is online and what the next upgrade actually changes.
Current milestoneLevel 45
Next fishing unlock at level 52Available rods
Beginner (Gumoss)Schematic
Durable beginner upgradeIntermediate (Cattiva)Technology
Wider control for midgame waterIntermediate (Croajiro)Schematic
Sturdier intermediate upgradeAdvanced (Pengullet)Technology
Reliable endgame workhorseAdvanced (Depresso)Rare schematic
Best control and durabilityAvailable bait
Simple Bait160 Gold
Enables fishing · Easy waterHigh Quality Bait240 Gold
Faster bites · Time saverDeluxe BaitCraft 10
Slightly larger control bar · Best valueBest rod target
Advanced Fishing Rod (Depresso)
The schematic is guaranteed in the Dark Island rare-catch treasure table. Craft it with 140 Paldium Fragments, 20 High Quality Pal Oil, 30 Pal Metal Ingots, 20 Carbon Fiber, and 5 Coralum Ingots.
Farm Coralum Ore04 / Read the water
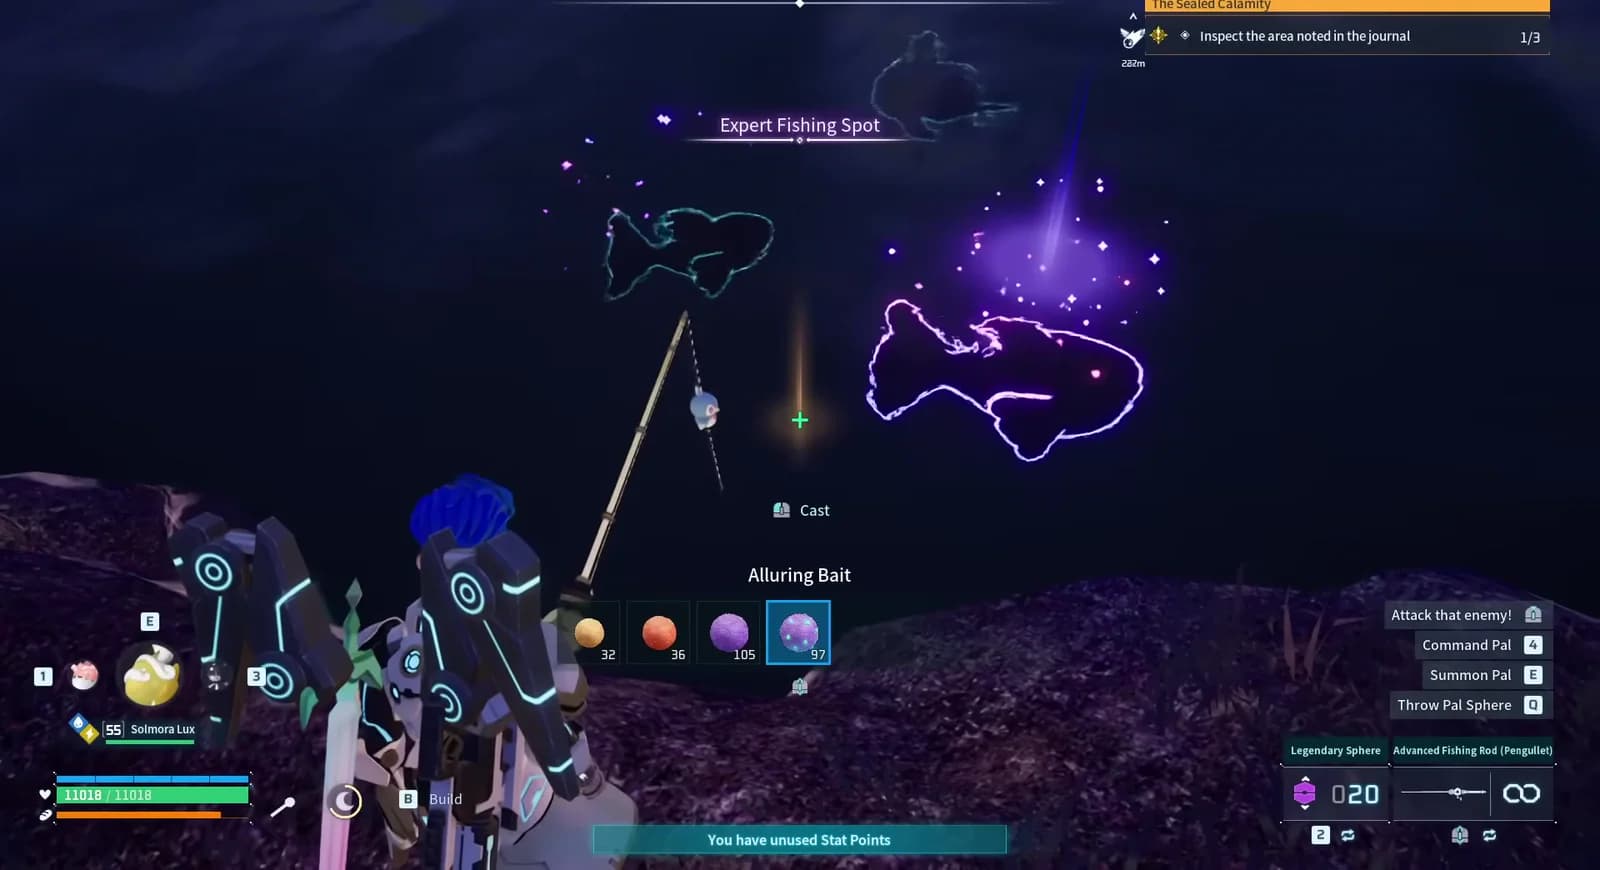
The talented Pal glow scanner
The surface effect tells you the minimum passive quality before you commit bait.
Scanner result
High-tier rainbow target
A higher-tier rainbow passive on a much harder catchHighest priority. Use the complete manual-fishing party.
05 / Farm the right table
284 schematics, regional pools, and a second salvage economy
Dark Island, Sakurajima, Sunreach, the World Tree, and other late-game waters have distinct reward tables. Pick the region for the blueprint, then let your party multiply the result.
Rare-catch treasure
Farm the Depresso rod schematic, armor blueprints, keys, spheres, manuals, coins, and regional materials.
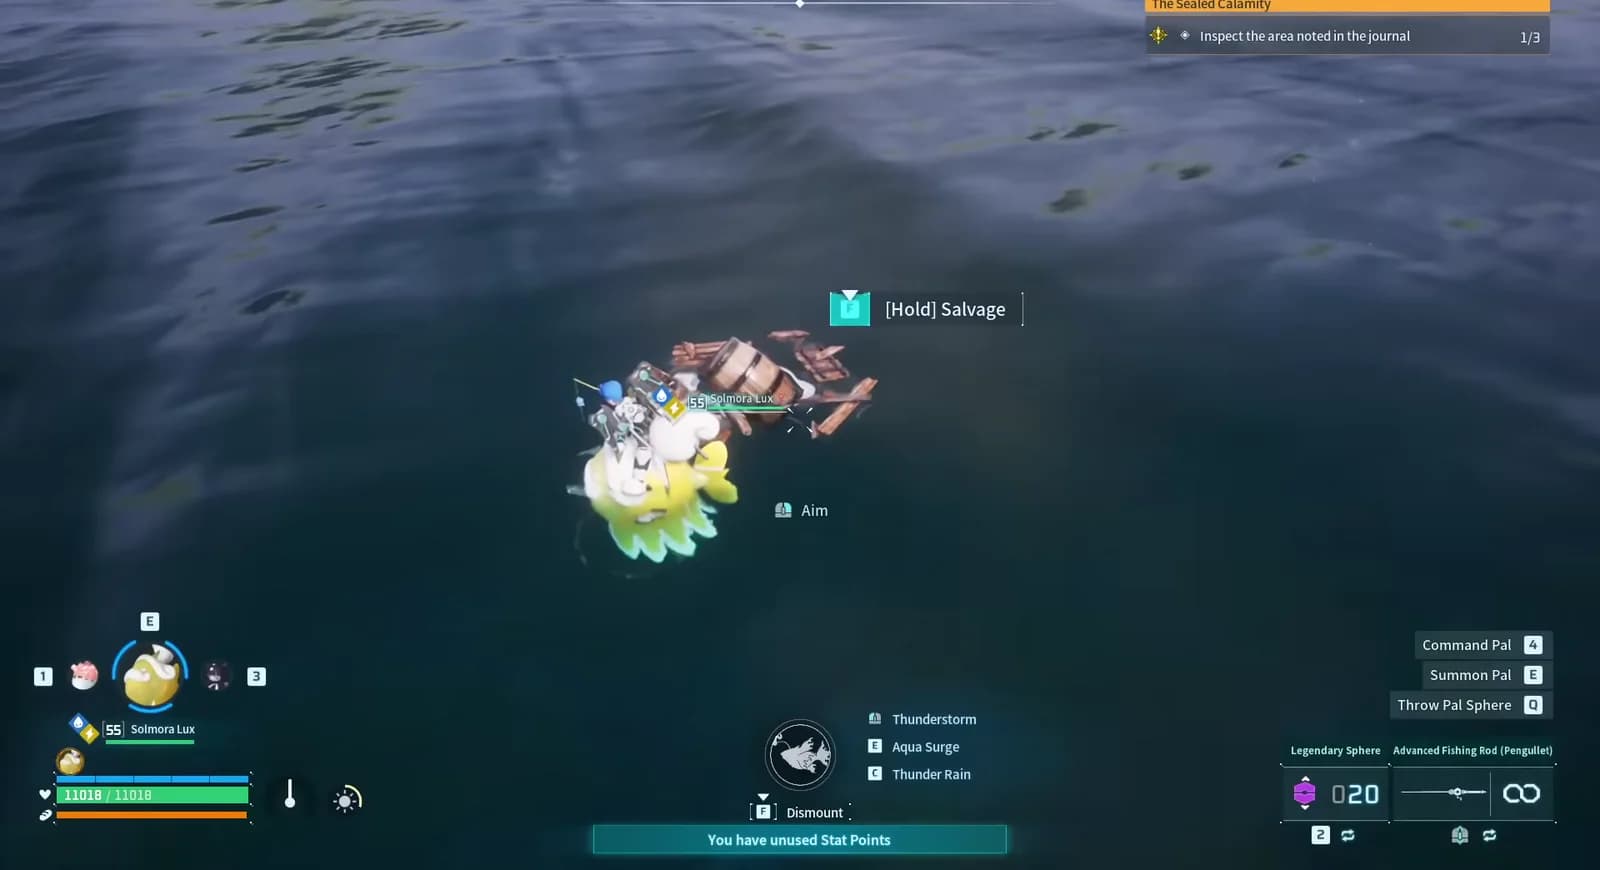
Offshore wreckage
Approach on Solmora Lux and press the input as the salvage marker crosses the green zone.
Level 62 magnets
A batch of 10 Powerful Fishing Magnets costs 1 Hexolite, 1 Cryogenic Coolant, and 1 Bio Battery.
Feybreak circuit
Swap Jellroy in before you collect the wreck
Jellroy Drop raises salvage yield from 55% at rank one to 95% at maximum rank. The reward rolls through the salvage interaction, so make the party swap before the loot appears.
Check every schematic source06 / Automate the downtime
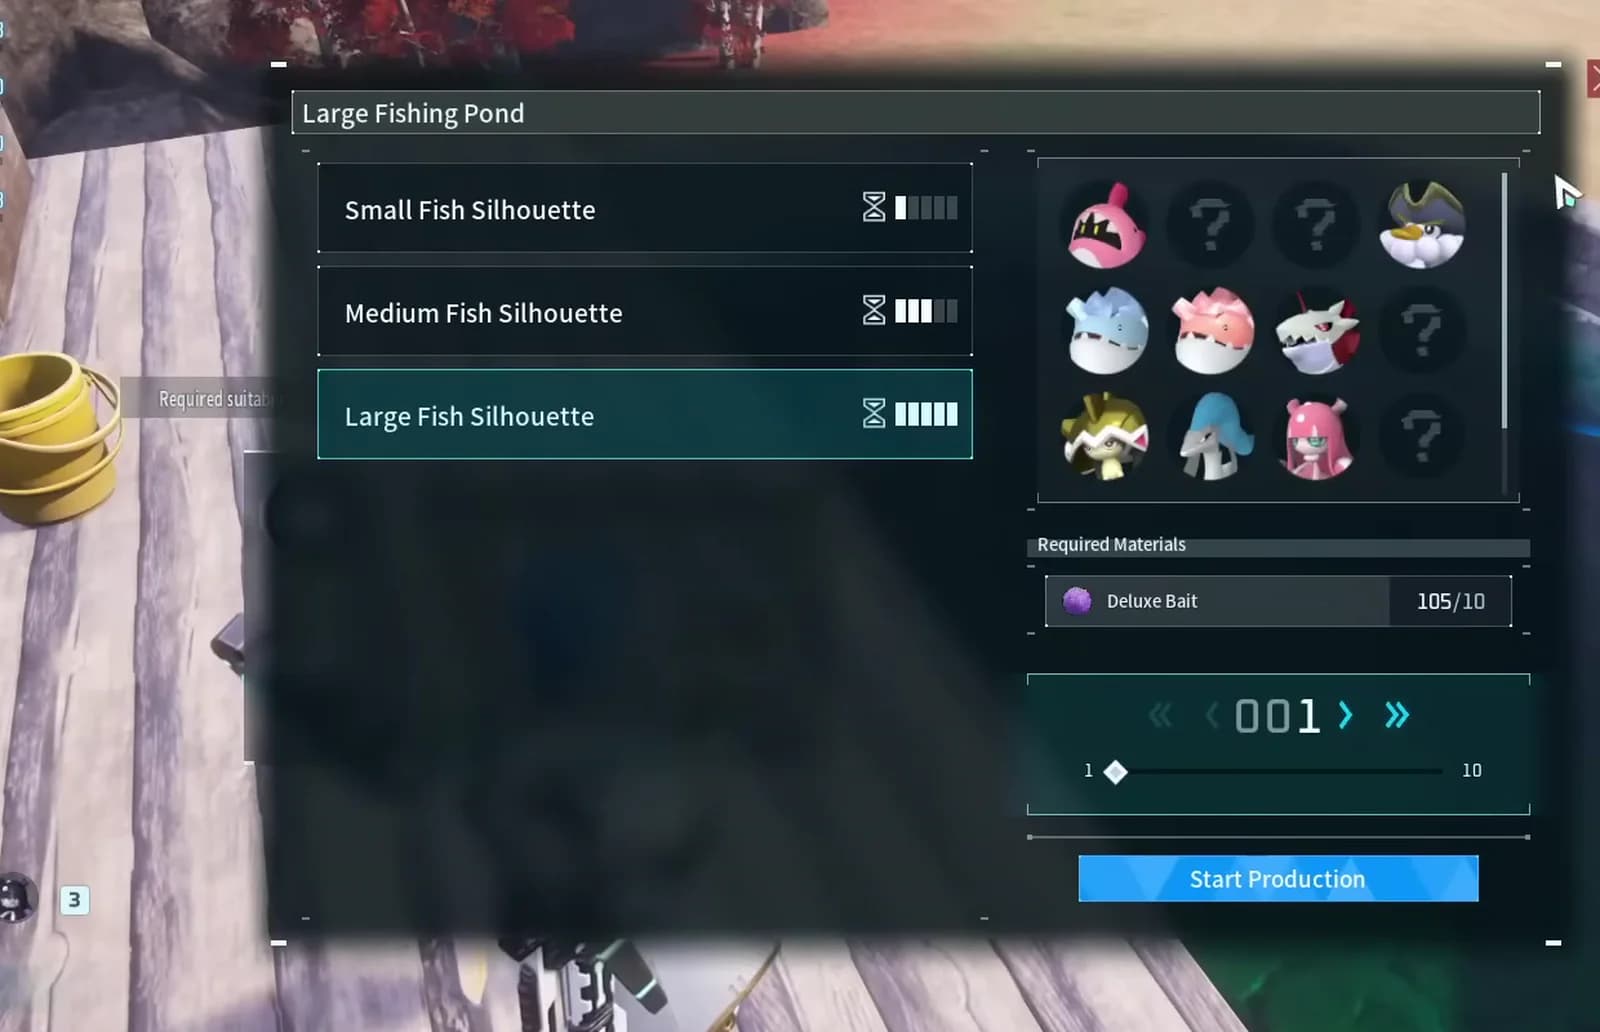
Configure the pond before you leave base
Manual fishing finds specific talent and treasure. Ponds turn bait and Handiwork into background output.
Queue profile
Large silhouette
- Bait
- 10 Deluxe Bait
- Production pace
- Slowest
- Best use
- Large-Pal rewards
- Choose the silhouette size.
- Queue one or more catches.
- Assign a Pal with Handiwork.
- Collect the Pal and associated items later.
07 / Save-ready route
From first cast to infinite ocean circuit
Tick off the progression in the order that each upgrade starts paying for the next.
Route completion0%
The optimized loop: hunt the brightest talented Pals, empty the correct regional treasure pool, and salvage every wreck between spots.
Fast answers
Palworld fishing FAQ
What is the best fishing party in Palworld 1.0?
For manual fishing, use Gloopie, Jelliette, Whalaska, Whalaska Ignis, and Solmora Lux. Replace regular Whalaska with Jellroy on a route that includes salvage.
What is the best bait in Palworld?
Alluring Bait is the strongest manual-fishing bait because it enlarges the control bar and increases items. Deluxe Bait is the better-value option for ordinary difficult catches.
How do you get the Advanced Fishing Rod (Depresso)?
Its schematic is a guaranteed reward in the Dark Island rare-catch treasure table. The recipe requires Paldium Fragments, High Quality Pal Oil, Pal Metal Ingots, Carbon Fiber, and Coralum Ingots.
What do talented fishing glows mean?
Purple marks an Alpha with a yellow passive, green guarantees at least one random rainbow passive, and the intense purple outline signals a higher-tier rainbow passive on a harder catch.
Original video
Watch on YouTube Fishing is Actually INSANE
This field guide expands RageGamingVideos' full-system walkthrough with the older PalMods guide's map totals, complete rod and bait ladder, verified partner-skill scaling, regional loot context, crafting requirements, and an in-play progression plan.
More Palworld 1.0 guides
guidesbasesmerchantsAug 28, 2026 7 min read
Legendary Merchants Are Secret Endgame Base Workers
Legendary merchants are more than portable shops. Their broad work suitability, level 4 specialties, and extreme Work Speed potential make them some of Palworld's most flexible endgame workers.
PalMods Team

palworld-1-0endgameworld-treeAug 25, 2026 10 min read
Palworld 1.0's Endgame Problem Isn't Just the Grind
Palworld 1.0 has a real endgame. The problem is that too many roads lead back to the same preparation loop.
PalMods Team
palworld-1-0guidescombatAug 18, 2026 6 min read
How to Beat and Catch Panthalus Like a Pro
Panthalus is the level 70 Water Legendary guarding the World Tree, and it is the only boss with a guaranteed catch. Here is the summon route, the full-Electric party, the three mechanics that decide the fight, and why the sphere at one HP never misses.
PalMods Team
Comments
Loading discussion...