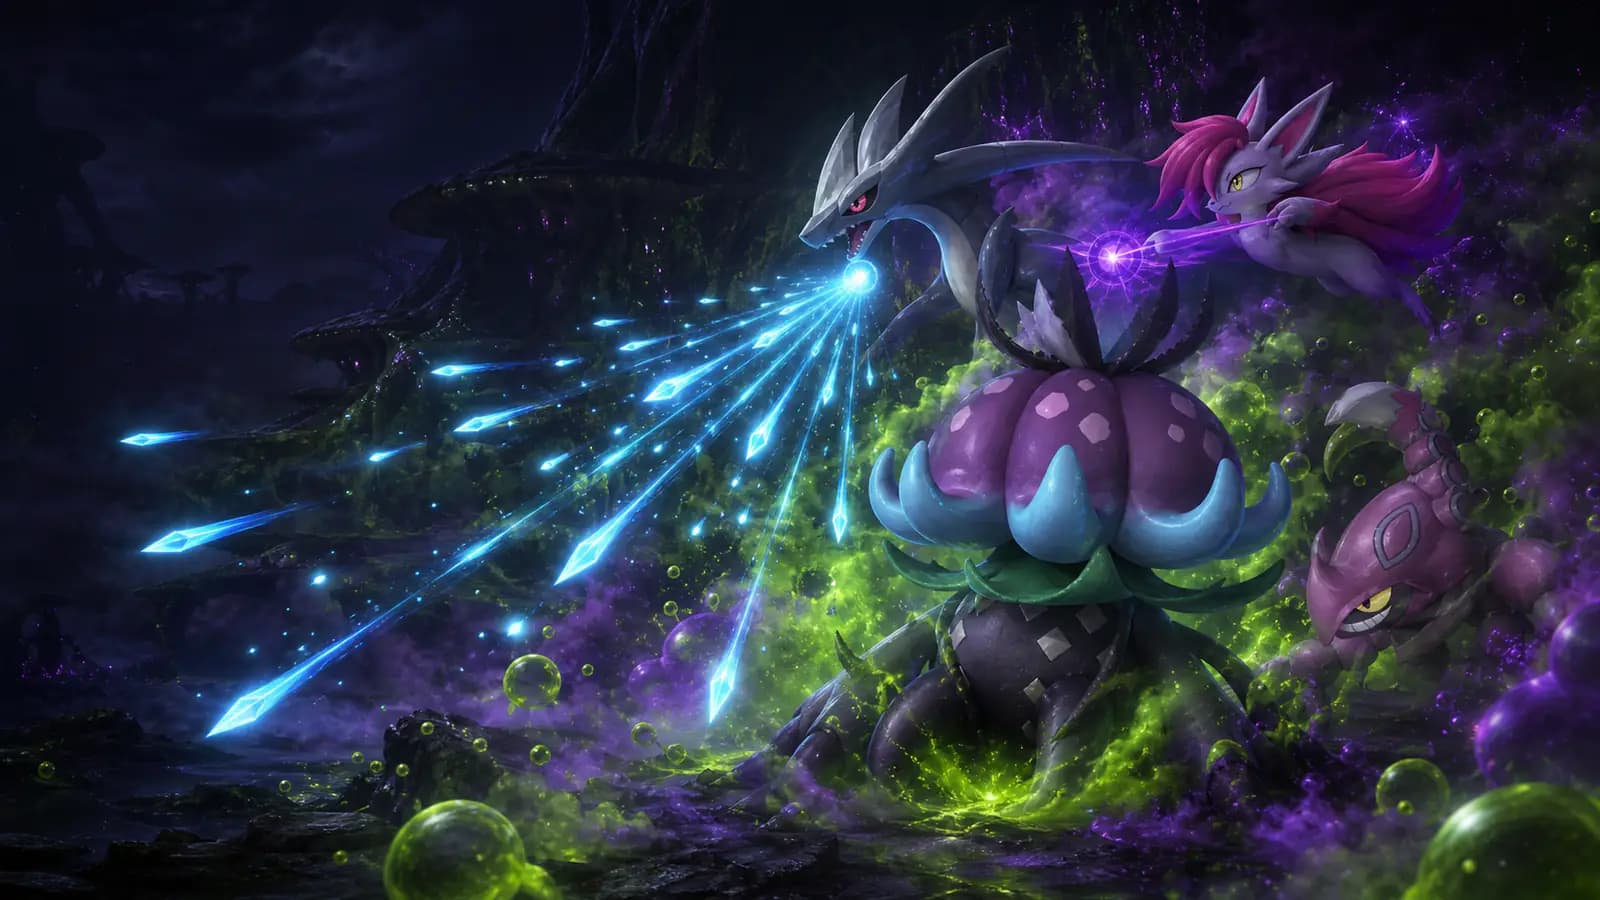
Double-dip one shotgun, then let every pellet stack poison for a 65% damage window.
Almost every top player-damage build in 1.0 is a headshot build, and the damage falls off a cliff when your aim does. This one deliberately spends its party slots somewhere else. Beam Scatter is the only endgame weapon that answers to two separate weapon-damage boosters at once, so Xenogard and Nyafia each add up to 35% and the totals combine because they are different species. Solenne pays another 80% attack for keeping the party free of duplicates. The last two slots buy a status loop instead of a weak-point bonus: Dandilord makes your shots inflict Poison, and Prixter raises all damage against Poisoned targets by up to 65%, for you and for your active pal. None of that asks you to hit a head. Headshots are still better, they are just no longer the build.
Raises energy weapon damage by 10% to 35%. Its shipped description names energy weapons; our item export carries no energy-weapon tag, so treat the Beam Scatter pairing as the video's claim rather than a dataset-confirmed one.
Energy Weapon Damage10% →35%You
Recruitment route
Take it off an enemy camp squad. Xenogard is fielded by NPC squads at 1 mapped enemy camp (1 squad spawn point). Squad levels are not recorded in the camp data, so scout the camp before you commit.
Raises shotgun damage by 10% to 35%, and Beam Scatter is tagged a shotgun in the game data, so this half is certain. It also learns Poison Fog at level 1, which is the build's opening move.
Shotgun Damage10% →35%You
Recruitment route
Catch it in the wild. Spawns at levels 50 to 58 across 293 points on the main island.
Pays 30% to 80% attack while no two pals in the party share a species. This lineup satisfies that by default, so it is free damage in any player-damage build.
Attack (all species unique)30% →80%YouUnique effect · does not stack
Recruitment route
Catch it in the wild. Only spawns on the World Tree region.
Its activated skill makes your attacks inflict Poison 2 for 30 seconds on a 50-second cooldown. The two effects below are the always-on half. It is also the only status supplier here strong enough to fight, which is why it is the pal you leave out.
Party Poison Resistance100% →100%You and palUnique effect · does not stack
World Tree Toxic Gas ImmunityActive →ActiveYou and palUnique effect · does not stack
Recruitment route
Beat it as a quest boss. Dandilord is the defeat target of Main quest: Defeat World Tree Middle Boss.
Raises damage against Poisoned targets by 50% to 65%. It targets you and your pals, so it multiplies Dandilord's attacks as well as your shotgun.
Damage vs Poisoned50% →65%You and palUnique effect · does not stack
Recruitment route
Catch it in the wild. Spawns at levels 48 to 49 across 70 points on the main island.
TipThe short version
Throw Nyafia first for a Poison Fog opener, then hold Dandilord's partner skill for the second and third applications. Keep drones up, keep Dandilord out to pull single-target attention, and hose the boss with Beam Scatter. Aim at the head when you can, and lose very little when you cannot.
// 02
Condensation scaling
Rank 1 → Rank 5
Compare every surfaced partner effect at base rank and full condensation. Effects marked Unique can still scale by rank, but a second carrier of the same species adds nothing. Two different species carrying the same effect do add together.
Pal / role
Partner effect
Affects
Rank 1
Rank 5
XenogardEnergy half of the double-dip
Energy Weapon Damage
You
10%
35%
NyafiaShotgun half, and the poison opener
Shotgun Damage
You
10%
35%
SolenneParty-wide attack
Attack (all species unique)Unique
You
30%
80%
DandilordPoison source and field carry
Party Poison ResistanceUnique
You and pal
100%
100%
DandilordPoison source and field carry
World Tree Toxic Gas ImmunityUnique
You and pal
Active
Active
PrixterPoison payoff
Damage vs PoisonedUnique
You and pal
50%
65%
Values verified against current partner-skill rank curves
// 03
Passives to implant
3 core · 7 total
Four of the five pals never leave the sphere, so their passives are chosen purely for what works from a party slot. That makes the plan identical on all four, and none of it needs a lucky breeding roll. Dandilord is the exception and gets its own row below.
Idiosyncratic
All five slots
Rank 4 · Mutation
Pal and Player Auto Health Regeneration Rate +50% Defense +25% Immune to Poison Damage Immune to Burn Damage
Works from an inactive party slot, which is what makes it the best passive in the build. Regeneration and defense for you and your active pal, plus poison and burn immunity. On a well-built Dandilord the regeneration alone outpaces most incidental damage.
Defense and regeneration from every carrier, immunities do not need stacking
How to get it
Mutation-pool only, so it never rolls on an ordinary wild catch. The video takes it as a consumable implant from ancient relic recycling rather than breeding for it.
Vanguard
All five slots
Rank 3 · Standard pool
10% increase in Player Attack.
Stacks across every pal carrying it, and buffs you rather than the pal. In a build where the player is the damage, this is the cheapest multiplier available.
50% player attack across five carriers
How to get it
A one-time purchase from the bounty vendor unlocks it permanently for the surgery table. The video puts the price at roughly 15 bounty tokens, which our dataset does not model.
Stronghold Strategist
All five slots
Rank 3 · Standard pool
10% increase in Player Defense.
The defensive twin. Worth taking seriously here because bosses target the largest damage source, and in this build that is you rather than your pal.
50% player defense across five carriers
How to get it
Same bounty vendor, same one-time permanent unlock. Buy both on the first trip.
Reload Master
Nice to have
Rank 3 · Standard pool
Player Reload Speed +4%
Small, but this build reloads constantly, and there is no fourth passive with a real benefit for a pal that never fights. Worth more here than in a bow build.
20% reload speed across five carriers
How to get it
Bought once from the arena vendor with battle tickets, then permanently available. Tickets come from arena fights.
Diamond Body
Nice to have
Rank 4 · Standard pool
Defense +30% Immune to Flinch Immune to Knockback
Dandilord only, and close to mandatory for any pal you actually field. The flinch and knockback immunity is what lets it keep attacking through a boss, which makes it an offensive passive wearing a defensive label.
How to get it
Consumable implant from ancient relic recycling.
Twin-Edged Holy Blade
Nice to have
Rank 5 · World Tree
Attack +50% Defense -30% World Tree resources will not vanish when approached.
Dandilord only. A large attack gain for a real defensive cost, and it is survivable here because Idiosyncratic is regenerating underneath it. Drop it for something safer if your Dandilord is not fully built.
How to get it
World Tree pool, so only World Tree pals can carry it.
God of Destruction
Nice to have
Rank 5 · World Tree
Attack +40% Defense +20% Max Health -50% World Tree resources will not vanish when approached.
Dandilord only, and the video runs it alongside Twin-Edged Holy Blade. Together they are the peak version of the setup, and Dandilord does occasionally die wearing both. Swap one for Demon God if that is happening too often.
How to get it
World Tree pool, same as above.
// 04
Gear and loadout
15 picks
The weapon is the whole thesis, so it goes first. Each row names the technology level that unlocks the line and the materials for the first craftable tier; schematics upgrade from there.
Weapons
One primary and one free-damage off-hand. Beam Scatter is a high fire-rate automatic shotgun, which is exactly what a status build wants.
The only endgame weapon that answers to two weapon-damage boosters. Its magazine also grows with the schematic tier, from 30 rounds at the base craft to 38 at the legendary version, which is a real uptime gain in a build that reloads this much.
A specialized beam weapon for close-range combat. It fires compressed energy in a wide, scattering blast.
Activate the drones with this equipped, then swap back to the shotgun and they keep attacking. Free damage for one weapon swap, so there is no reason not to run it.
A launcher that fires drones which perform autonomous attacks. Capable of deploying up to 9 units, enabling sustained suppression.
Paloxite Ingot ×70World Tree Holy Water ×40AI Core ×8Ancient Civilization Core ×5
Accessories
Only two accessories in the game raise player attack, so those two are locked. The last two slots are the actual decision.
Attack Up Lv. 4, worth 20% attack, plus a separate 16% for the pal fighting beside you. The biggest attack accessory in the game and it feeds Dandilord too.
An accessory that greatly raises your Attack, and that of the Pal fighting alongside you.
Refined Ingot ×20Bone ×30Paldium Fragment ×35Ancient Bone ×30
Defense Up Lv. 4 and Health Up Lv. 4, so 25% defense and 25% health from a single slot. Take at least one defensive accessory, and this is the strongest one.
An accessory that greatly raises Defense and Health.
Refined Ingot ×40Honey ×20Paldium Fragment ×35Ancient Lava ×30
The greedier flex. Pal Attack Up Lv. 4 and Pal Dark Damage Enhancement Lv. 4, which suits Dandilord because its exclusive attacks are Dark. Both effects are pal-only, so this slot gives you personally nothing.
An accessory that raises the Attack of the Pal fighting alongside you. It also significantly increases their Dark damage.
Worth 20% attack, and the default before any hard fight.
Now with cheese, this dish has reached the highest level of fine cuisine. Eating it will increase Attack by +20% and stay full longer for a period of time.
Worth 25% attack for a much harder recipe. Take it if you have it, do not build around it.
A dish made by simmering vegetables and meat with spices. The rich flavor is highlighted by large chunks of tender meat. Eating it will increase your Attack by 25% for a period of time.
For enemies with large horizontal hitboxes, area damage beats raw power. Apocalypse is Dark at 400 power and comes from a skill fruit rather than the learnset.
Use on a Pal to teach Apocalypse.
Wide targets, second area skill
Circle Vine (Grass, 300 power)
Native at level 15. Grass rather than Dark, so accessories that boost Dark damage will not touch it, though Dandilord is part Grass so its typing still matches.
// 05
Stat point priority
Highest priority first
The player is the damage here, so the ordering looks like any other player-damage build. The difference is that you are also the boss's preferred target, which pushes health up rather than down.
1AttackFirst. Every multiplier in the build (both weapon boosters, Solenne, Prixter, the accessories and the food) resolves against your attack.
2HealthSecond, and it matters more than in a headshot build. Bosses focus the largest damage source, which in this build is you and not the pal.
3StaminaThird. Shotgun range means you are repositioning constantly rather than holding a firing line.
4Weight and work speedLast. Neither contributes anything in a boss fight.
// 06
How to play it
6 steps
Poison uptime is the whole loop. You have two applications available and they have different costs, so the order matters more than the aim does.
1Strip Nyafia down to Poison Fog
Before the fight, unselect Nyafia's other active skills. Poison Fog has a high application rate and zero power, so leaving the other moves enabled just means it wastes turns doing chip damage instead of applying the status the build runs on.
2Open with Nyafia, not Dandilord
Throw Nyafia out first for the opening Poison. That saves Dandilord's activated partner skill for the second and third applications, which is the difference between two poison windows in a fight and three. Some bosses move too fast for Poison Fog to land, so check whether it is sticking before relying on it.
3Field Dandilord and let it hold attention
Dandilord is the only status supplier here that can actually fight. Leaving it out pulls some of the boss's attention, which buys you cleaner firing windows. It survives on Idiosyncratic regeneration as long as it is not the boss's primary single-target focus, and in this build it will not be.
4Activate the poison partner skill on cooldown
Dandilord's Mist Stalwart runs 30 seconds on a 50-second cooldown, so there is a gap by design. Fire it whenever the target is not already Poisoned rather than holding it, since a wasted second of Prixter uptime costs more than a slightly early refresh.
5Keep the drones running in the background
Deploy with the Drone Launcher, then swap back to the shotgun. The drones stay active through the swap, so this is damage you pay one weapon swap for and then forget about.
6Fire into the target, head if you can get it
The video's claim is that each pellet is a separate damage instance, so a wide automatic shotgun applies status build-up very quickly. That is a mechanics claim our dataset cannot verify, but the practical advice stands either way: a shotgun spread means some pellets find the head without you aiming for it, and missing costs you far less than it would in a weak-point build.
// 07
What this build turns down
3 considered
This build is explicitly not trying to be the strongest player-damage setup in the game. These are the trades it makes on purpose.
The weak-point build it is not
The case for it Stacking Vanwyrm Cryst, Vanwyrm and Cryolinx Terra gives 90% weak-point damage plus a compounding follow-up bonus, which is a larger ceiling than anything here.
It is a larger ceiling that you only reach with consistent headshots. This build trades that ceiling for a floor: every multiplier it carries applies to body shots too. If your aim is reliable, go run the weak-point version instead.
Burn instead of poison
The case for it Renjishi applies Burn from a passive slot with no cooldown at all, and Jormuntide Ignis pays the same 50% to 65% against Burning targets that Prixter pays against Poisoned ones.
Genuinely close, and easier to pilot because the application is passive rather than activated. It loses the thing that makes this specific lineup work: Dandilord is a real combat pal, so the poison version gets a field carry out of a slot the burn version spends on a pure buff bot.
Life steal over the energy half
The case for it Felbat or Lovander returns 5% to 9% of damage dealt as Health to both you and the pal, which in a build with this much sustained fire is a lot of healing.
A fair swap if you are dying, and the video offers it as one. It costs you the smaller of the two weapon boosters, so you are converting roughly 35% weapon damage into survivability. Take it only if survivability is what is actually failing.
// 08
Where to get everything
8 stops
Every accessory schematic below has a guaranteed one-time Ancient Shrine pickup in our map data, so none of them need a lucky drop. The video calls these hack terminals. Coordinates are exact.
Beam Scatter legendary schematicA 10% roll from the hard-mode Rayne Syndicate boss, Zoe and Grizzbolt at level 72. That is the lowest-level hard tower boss, which makes it the natural entry point. Important caveat our data records and the video does not: the schematic roll only happens on your first-ever clear of a tower, so rematching cannot farm it.All legendary schematic sources
Drone Launcher legendary schematicA 10% roll from the hard-mode Free Pal Alliance founder fight, Lily and Lyleen at level 74, the second-lowest hard tower. Same first-clear-only rule applies. Both weapons also appear in World Tree fishing and the ancient relic recycler at much worse rates.Compare the drop rates
Attack Pendant schematicGuaranteed Ancient Shrine reward at [427, 338]. Also appears in Dark Island treasure chests at about 3.4% and Oil Rig reward chests at about 1.2%, but the shrine is a certainty.Open on the map
Dogen Emblem schematicGuaranteed Ancient Shrine reward at [-300, -1505], in the Sky Island region. The chest-pool alternative is roughly 2.4%.Open on the map
Warsect Terra's Belt schematicGuaranteed Ancient Shrine reward at [-665, 30]. This is the defensive anchor accessory, so it is worth collecting early.Open on the map
Vanguard Charm schematicGuaranteed Ancient Shrine reward at [-815, -850]. The safer of the two flex accessories.Open on the map
Lord of the Underworld's Baton schematicGuaranteed Ancient Shrine reward at [-920, -1127]. Only worth the slot if you are committed to fielding Dandilord, since every effect on it is pal-only.Open on the map
Implants and consumablesVanguard and Stronghold Strategist unlock permanently after one purchase from the bounty vendor. Reload Master unlocks the same way from the arena vendor, paid in battle tickets from arena fights. Idiosyncratic and Diamond Body come from ancient relic recycling as consumable implants.
// 09
Alternates and flex picks
4 viable swaps
Keep the build's identity while adapting the lineup to the pals you own or the encounter ahead.
Why is Beam Scatter better here than a stronger weapon?
Because it answers to two boosters at once. Nyafia raises shotgun damage and Xenogard raises energy weapon damage, each up to 35% at full condensation, and they are different species so the totals combine. Most weapons can only take one of those. Beam Scatter is also a high fire-rate automatic, which suits a build that wins by applying a status quickly.
Is the energy weapon half actually confirmed?
Partly. Our item data tags Beam Scatter as a shotgun, so Nyafia's bonus is certain. It carries no energy-weapon flag on any item, so we cannot confirm from data which weapons Xenogard's bonus covers. Xenogard's own in-game description says energy weapons and Beam Scatter is from the beam family, so the pairing is very likely, but we are flagging it rather than stating it as verified.
Do I need to hit headshots with this build?
No, and that is the entire point. None of the five party slots carry a weak-point bonus, so every multiplier applies to body shots. Headshots are still better when you land them, they are just a bonus rather than the requirement. A weak-point build has a higher ceiling if your aim is consistent.
What is Psycho Gravity and should I use it?
We cannot verify it. The source video recommends it as Dandilord's third skill and says it comes from a fruit awarded for the hard-mode World Tree boss, but no skill by that name exists in our committed 1.0 catalog of 302 active skills. It may be a reward-only skill our export does not carry. Until that is confirmed, use Dark Laser for small targets or Apocalypse for wide ones.
How do I keep poison up when Dandilord has a cooldown?
Use two sources. Dandilord's Mist Stalwart runs 30 seconds on a 50-second cooldown, which leaves a gap. Nyafia learns Poison Fog at level 1, so throwing Nyafia out at the start covers the opening and saves the partner skill for later applications. Strip Nyafia's other skills so it only ever casts Poison Fog.
Can I farm the tower bosses for the schematics?
No. Tower rematches are unlimited and free, but the 10% schematic roll only happens on your first-ever clear of each tower. Rematches award experience only. If you miss the roll, the remaining sources are World Tree fishing and the ancient relic recycler, both under 0.4%.
Should Dandilord run both World Tree passives?
Only if it is fully built. Twin-Edged Holy Blade and God of Destruction are both large attack gains paid for with defense and health, and running both together is the peak version. Idiosyncratic's regeneration is what makes it survivable. If your Dandilord dies often, replace one of them with Demon God, whose effect text is missing from the 1.0 export but which sits in the same attack-passive family without the drawback.
Does Prixter buff my pal as well as me?
Yes. Its effect targets you and your pals, so the bonus against Poisoned enemies applies to Dandilord's attacks as well as your shotgun. That is a large part of why the poison version is worth the activated cooldown.







Comments
Loading discussion...